Official Silverback video workshop

Silverback SRS Cheekpad Height Adjustment Guide

The official Silverback video demonstrates how to adjust cheekpad height on the SRS-A1 and SRS-A2. This guide is useful when you need to follow the brief adjustment sequence: identify the specified hex key, loosen the cheek-pad fasteners, reposition the pad, and tighten it at the selected height.

Primary source
SRS
Official Silverback video workshop
Source-based overview
0:31
Evidence standard
Silverback SRS Cheekpad Height Adjustment Guide
5step by step
0:31Video
3Tools and parts explicitly identified
SRSplatform hub

01Source-based overview

What this procedure does

The video shows a focused cheekpad-height adjustment sequence for the SRS-A1 and SRS-A2. On-screen text identifies a 3 mm hex key, after which the operator loosens the cheek-pad fasteners. The cheek pad is then raised or repositioned while the operator holds it at the chosen height.

Once the pad is held in position, the fasteners are tightened to retain that height. The five checkpoints below follow the visible progression from the identified tool and loosened fasteners through repositioning, holding, tightening, and the final visible arrangement. The source does not provide a torque value, so none is included here.

Tools and parts explicitly identified

  • 3 mm hex key
  • cheek pad
  • cheek-pad fasteners

Evidence standard

Every technical statement below is restricted to the official Silverback description, subtitles, on-screen text or visible action. Unstated torque values and compatibility claims are intentionally omitted.

What the footage makes clear

This walkthrough stays close to the official Silverback source. The expanded notes explain what is visible at each checkpoint, while measurements, compatibility and cautions remain limited to what Silverback actually states.

  • Official video description establishes the SRS-A1 / SRS-A2 adjustment scope.
  • Visual review observations establish the 3 mm hex key, loosening, repositioning, holding, tightening, and absence of a torque value.
  • Fixed timestamps come from the supplied useful-time list.
  • No official or automatic English or French subtitle track was available.
Specification Source value
Compatible models SRS-A1 / SRS-A2
Specified hex key 3 mm
Which Silverback models does this adjustment cover?Which tools or parts are identified for Silverback SRS Cheekpad Height Adjustment Guide?

02Primary source

Watch the official Silverback tutorial

Every technical statement below is restricted to the official Silverback description, subtitles, on-screen text or visible action. Unstated torque values and compatibility claims are intentionally omitted.

What should I watch for before Identify the adjustment tool?Where does the official video show Tighten the fasteners?

03Procedure

Silverback SRS Cheekpad Height Adjustment Guide, step by step

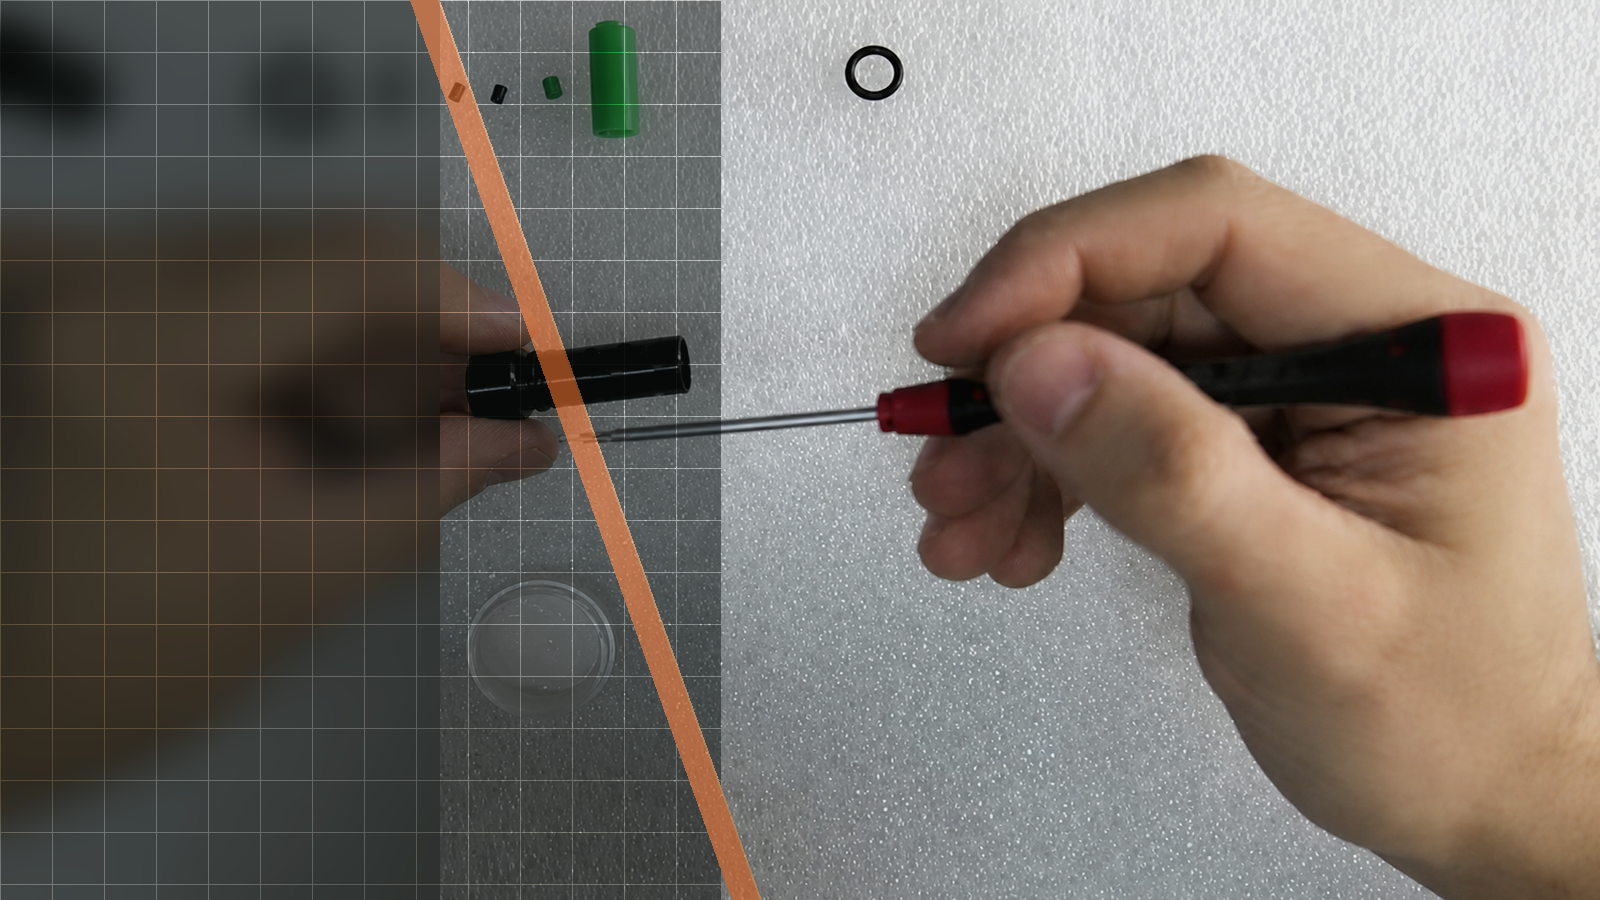
SRS The video identifies the 3 mm hex key beside the cheek-pad adjustment setup.
The video identifies the 3 mm hex key beside the cheek-pad adjustment setup.
SRS The 3 mm hex key is applied as the cheek-pad fasteners are loosened.
The 3 mm hex key is applied as the cheek-pad fasteners are loosened.
SRS The cheek pad moves upward or into its selected position after the fasteners are loosened.
The cheek pad moves upward or into its selected position after the fasteners are loosened.
SRS The operator holds the cheek pad at the selected height before securing it.
The operator holds the cheek pad at the selected height before securing it.
01Identify the adjustment toolAt this opening checkpoint, the on-screen text specifies a 3 mm hex key, while the cheek pad and its fasteners are visible as the parts being adjusted. Compare the frame with that tool designation before following the operator into the adjustment itself. The next checkpoint moves from identifying the key to loosening the cheek-pad fasteners. Video: 00:11 ↗
02Loosen the fastenersThe operator uses the 3 mm hex key on the cheek-pad fasteners and loosens them. In the frame, compare the key at the fastener locations with the cheek pad that will be moved next. This loosening checkpoint leads directly to raising or repositioning the pad rather than leaving it at its starting position. Video: 00:14 ↗
03Raise and reposition the padWith the fasteners loosened, the operator raises or repositions the cheek pad. The important visual change is the pad’s altered height or position relative to the earlier frame. Follow this movement into the next checkpoint, where the operator holds the cheek pad at the selected height before tightening the fasteners. Video: 00:17 ↗
04Hold the chosen heightAt this point, the operator holds the cheek pad at the chosen height while the adjustment remains open for securing. Compare the pad’s position with the preceding repositioning frame and note that the hands keep it there. This held position sets up the final fastening action shown in the next checkpoint. Video: 00:20 ↗
05Tighten the fastenersThe operator tightens the cheek-pad fasteners with the 3 mm hex key while the cheek pad remains at the chosen height. The frame should be read as the end of the visible sequence: the repositioned pad is being secured rather than moved again. No torque value is shown in the video, so the source provides no torque specification to apply. Video: 00:23 ↗
Checks shown or stated
  • The cheek pad is held at the chosen height while the fasteners are tightened.
  • The cheek-pad fasteners are tightened at the end of the visible sequence.
How do I complete Identify the adjustment tool safely?What must I check after Tighten the fasteners?

04FAQ

SRS tutorial questions

Which Silverback models does this adjustment cover?

The official description identifies the SRS-A1 and SRS-A2.

What hex key does the video specify?

The on-screen text specifies a 3 mm hex key.

Does the video provide a torque value?

No. The visual review states that no torque value is shown.

Which Silverback models does this adjustment cover?What hex key does the video specify?

Latest Stories

This section doesn’t currently include any content. Add content to this section using the sidebar.
Skirmshop AI