
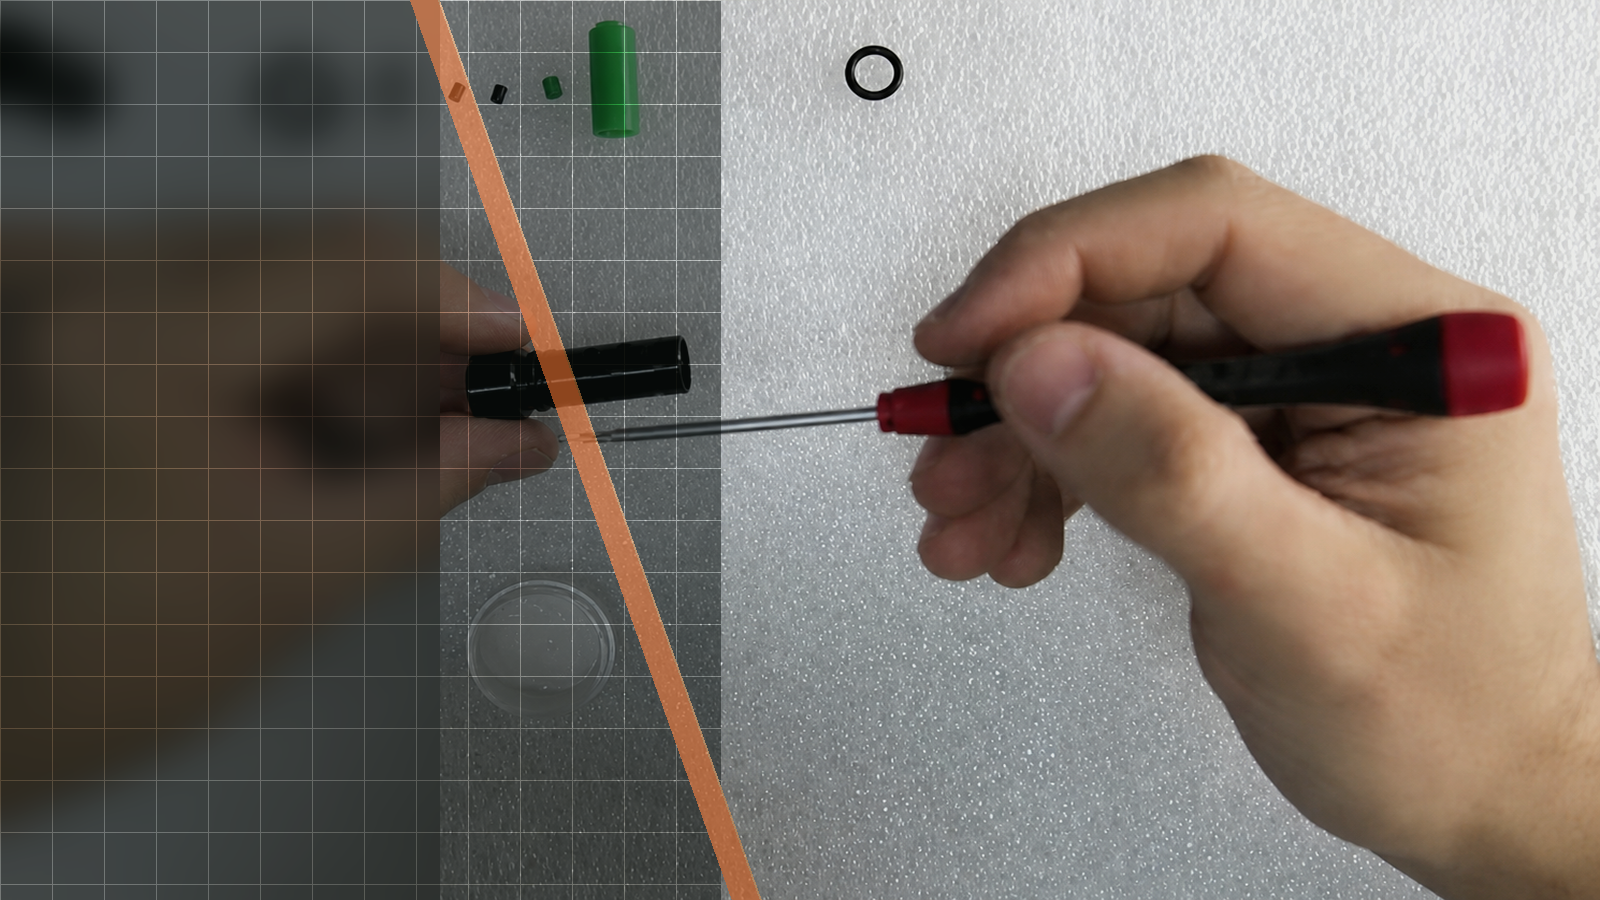
Official Silverback video workshop
Silverback SRS Pull-Back Kit Installation Guide
This official Silverback video follows the installation of an SRS pull-back kit from the first unboxing through the completed action demonstration. Use this guide when you want a clear visual roadmap of the filmed sequence, including which original components are removed, how the new pull-back components are assembled, and how the rear stock is refitted at the end.

01Source-based overview
What this procedure does
The overhead footage begins with the complete SRS and the boxed pull-back kit. The operator unboxes the kit, removes the rear stock or butt section, and takes out the original bolt and cylinder components. The old and new parts are then placed out for comparison before the pull-back piston, cylinder, and bolt-handle components are assembled. A soft mallet is visible during disassembly, but the source does not establish its size or any torque information.
Once the pull-back components are assembled, the spring and cylinder are reinstalled. The rear stock is then refitted, and the operator demonstrates the completed action. The official description states that the kit allows the bolt spring to be primed by pulling backward instead of pushing forward, increases air volume to 41cc instead of 28 cc, and uses APS springs identified as Fat Type with an external diameter of 13mm.
Tools and parts explicitly identified
- soft mallet
- SRS
- boxed pull-back kit
- rear stock/butt section
- original bolt/cylinder components
- pull-back piston/cylinder components
- bolt-handle components
- spring
- cylinder
Evidence standard
Every technical statement below is restricted to the official Silverback description, subtitles, on-screen text or visible action. Unstated torque values and compatibility claims are intentionally omitted.
What the footage makes clear
This walkthrough stays close to the official Silverback source. The expanded notes explain what is visible at each checkpoint, while measurements, compatibility and cautions remain limited to what Silverback actually states.
- Sequence and visible component handling are based on the official video's visual review observations.
- The 56, 90, 152, 190, and 240 second checkpoints come from the supplied fixed useful timestamps.
- Air volume, spring details, and pull-back function come from the official video description.
- The soft mallet is identified only as visible during disassembly; its size and torque use are not established.
- No official or automatic English or French subtitle track was available.
| Specification | Source value |
|---|---|
| Air volume | 41cc (instead of 28 cc) |
| Spring type | APS springs (Fat Type, external diameter 13mm) |
| Pull-back function | prime the bolt spring by pulling backward instead of pushing forward |
02Primary source
Watch the official Silverback tutorial
Every technical statement below is restricted to the official Silverback description, subtitles, on-screen text or visible action. Unstated torque values and compatibility claims are intentionally omitted.
03Procedure
Silverback SRS Pull-Back Kit Installation Guide, step by step


- The rear stock or butt section is refitted.
- The completed action is demonstrated.
- The bolt spring is primed by pulling backward instead of pushing forward.
04FAQ
SRS tutorial questions
What does the Silverback pull-back kit change?
The official description says the kit allows the bolt spring to be primed by pulling backward instead of pushing forward.
What air volume does the installed kit provide?
The official description states that air volume is increased to 41cc instead of 28 cc.
What springs does the kit use?
It uses APS springs identified in the official description as Fat Type, with an external diameter of 13mm.
Share:
Silverback SRS Inner Barrel Change Guide
Silverback DTSS Muzzle Brake Timing Guide