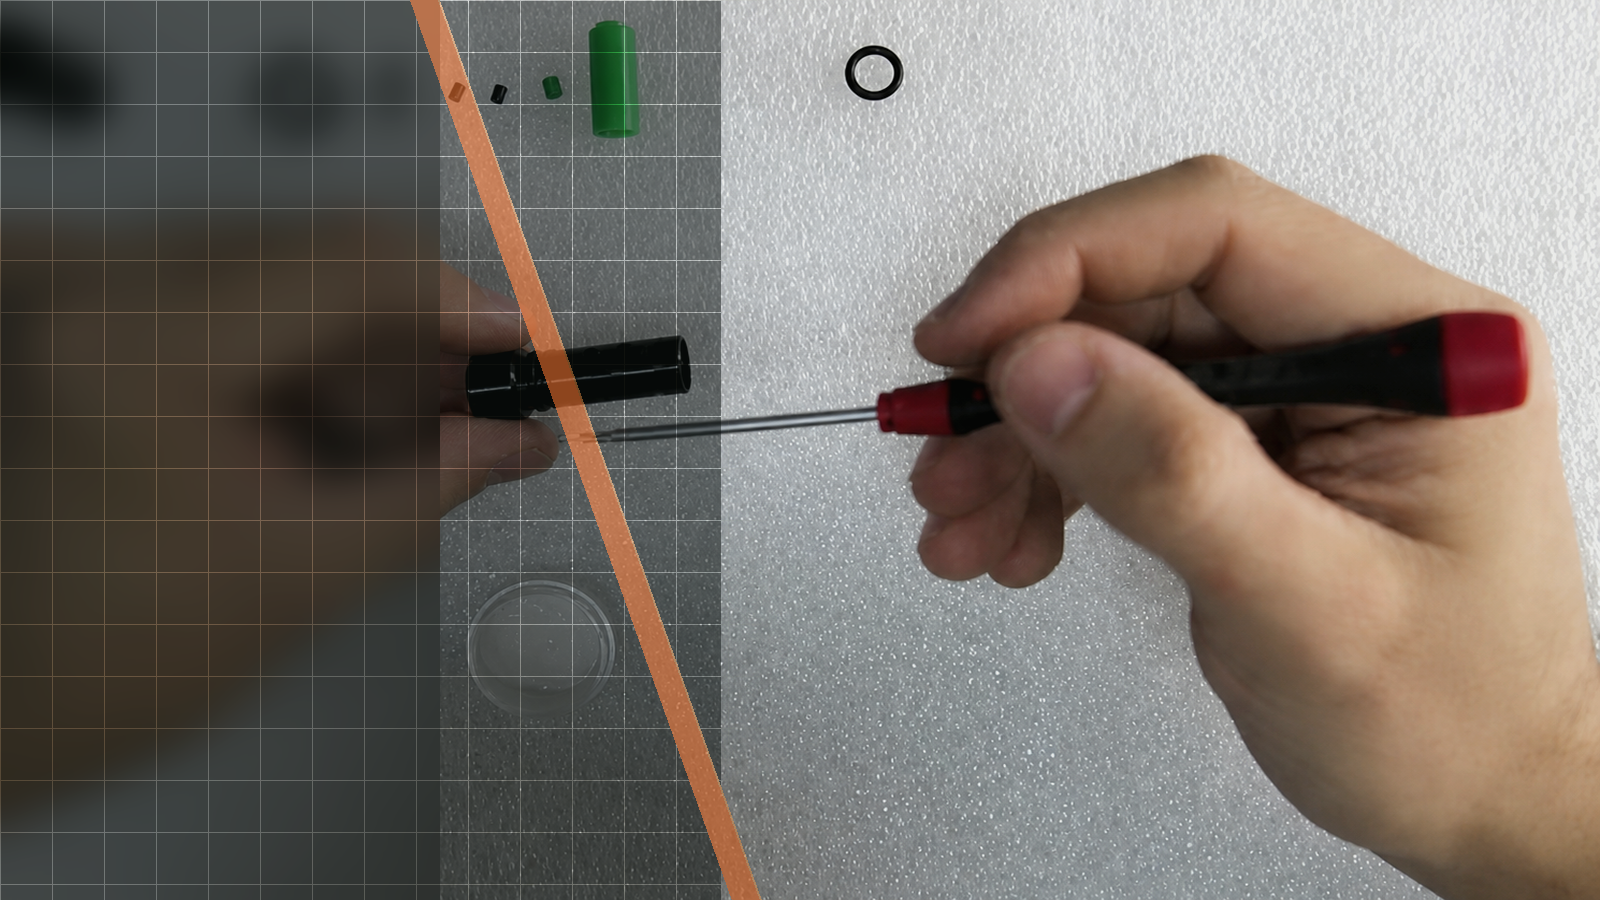
Official Silverback video workshop

Silverback SRS Inner Barrel Change Guide

This official Silverback video demonstrates the procedure for changing the inner barrel in an SRS, from separating the hop assembly to returning the completed assembly to the outer barrel. Use this guide when you need to follow the video’s visual sequence and identify the barrel, green hop rubber, chamber components and screws shown at each checkpoint.

Primary source
SRS
Official Silverback video workshop
Source-based overview
3:10
Evidence standard
Silverback SRS Inner Barrel Change Guide
5step by step
3:10Video
8Tools and parts explicitly identified
SRSplatform hub

01Source-based overview

What this procedure does

The video begins with the complete outer-barrel and hop assembly laid on a black mat. The operator uses a small driver on the hop chamber screws, then slides the barrel apart from the green hop rubber and chamber components. A long cleaning/guide rod is also shown, although the evidence does not establish a separate procedure for using it. No driver size or torque value is legible.

The separated components are transferred and aligned on the replacement barrel before the hop chamber screws are retightened. The finished assembly is then returned to the outer barrel. Silverback’s official description states that the SRS is compatible with standard AEG barrel and hop up rubber, while also cautioning that modifying the replica will possibly void the warranty.

Tools and parts explicitly identified

  • small driver
  • long cleaning/guide rod
  • outer barrel
  • hop chamber
  • hop chamber screws
  • barrel
  • replacement barrel
  • green hop rubber

Evidence standard

Every technical statement below is restricted to the official Silverback description, subtitles, on-screen text or visible action. Unstated torque values and compatibility claims are intentionally omitted.

What the footage makes clear

This walkthrough stays close to the official Silverback source. The expanded notes explain what is visible at each checkpoint, while measurements, compatibility and cautions remain limited to what Silverback actually states.

  • The sequence and visible components are based on the visual review observations of the official video.
  • The SRS compatibility statement and warranty caution are taken from the official video description.
  • The official or automatic transcript contains only music markers and does not provide procedural wording.
Specification Source value
Compatibility The SRS is compatible with standard AEG barrel and hop up rubber.
What compatibility does Silverback state for the SRS?Which tools or parts are identified for Silverback SRS Inner Barrel Change Guide?

02Primary source

Watch the official Silverback tutorial

Every technical statement below is restricted to the official Silverback description, subtitles, on-screen text or visible action. Unstated torque values and compatibility claims are intentionally omitted.

What should I watch for before Open on the laid-out assembly?Where does the official video show Return the assembly to the outer barrel?

03Procedure

Silverback SRS Inner Barrel Change Guide, step by step

SRS The complete assembly rests on the black mat while the operator begins at the hop chamber screws.
The complete assembly rests on the black mat while the operator begins at the hop chamber screws.
SRS The barrel is separated from the green hop rubber and chamber components, with the long rod also visible.
The barrel is separated from the green hop rubber and chamber components, with the long rod also visible.
SRS The green hop rubber and chamber components are placed onto the replacement barrel.
The green hop rubber and chamber components are placed onto the replacement barrel.
SRS The replacement barrel carries the aligned hop components as the chamber screws are retightened.
The replacement barrel carries the aligned hop components as the chamber screws are retightened.
01Open on the laid-out assemblyThe complete outer-barrel and hop assembly is visible on a black mat as the video opens. The operator brings a small driver to the hop chamber screws, establishing the fasteners that will be released before the barrel and hop components are separated. A warranty warning appears at the opening, so this first checkpoint frames both the assembly and the official caution before moving on. Video: 00:25 ↗
02Separate the barrel and hop componentsAt this point, the operator has worked on the hop chamber screws and slides the barrel apart from the green hop rubber and chamber components. Compare the frame with the previously complete assembly: the barrel is now separated, while the green rubber and chamber parts remain identifiable. A long cleaning/guide rod is also shown before the replacement components are brought together. Video: 00:58 ↗
03Transfer the componentsThe separated green hop rubber and chamber components are transferred onto the replacement barrel. The important visual detail is the relationship between the replacement barrel and the components that came off the original assembly, rather than any stated measurement or tool setting. Once these parts are together, the sequence leads into alignment and screw tightening. Video: 01:39 ↗
04Align and retighten the chamberThe operator aligns the hop chamber components on the replacement barrel and retightens the chamber screws with the small driver. Compare the frame for the seated relationship of the green hop rubber, chamber and replacement barrel, then for the screws being secured. This checkpoint completes the component transfer before the assembly is put back into the outer barrel. Video: 02:20 ↗
05Return the assembly to the outer barrelWith the hop chamber screws retightened, the operator returns the assembled barrel and hop components to the outer barrel. The final frame should be read against the opening view: the separate parts have become the complete outer-barrel and hop assembly again. The video’s demonstrated sequence ends at this reassembled position. Video: 02:45 ↗
Source-stated cautions
  • Modifying your replica will possibly void your warranty.
Checks shown or stated
  • The green hop rubber and chamber components are aligned on the replacement barrel.
  • The hop chamber screws are retightened.
  • The completed assembly is returned to the outer barrel.
How do I complete Open on the laid-out assembly safely?What must I check after Return the assembly to the outer barrel?

04FAQ

SRS tutorial questions

What compatibility does Silverback state for the SRS?

Silverback’s official description states that the SRS is compatible with standard AEG barrel and hop up rubber.

Which tool is visibly used on the hop chamber screws?

The visual review identifies a small driver being used on the hop chamber screws. No driver size is legible.

Does the official description provide a torque value?

No. The visual review states that no torque is legible, and the supplied official description does not provide a torque value.

What compatibility does Silverback state for the SRS?Which tool is visibly used on the hop chamber screws?

Latest Stories

This section doesn’t currently include any content. Add content to this section using the sidebar.
Skirmshop AI