
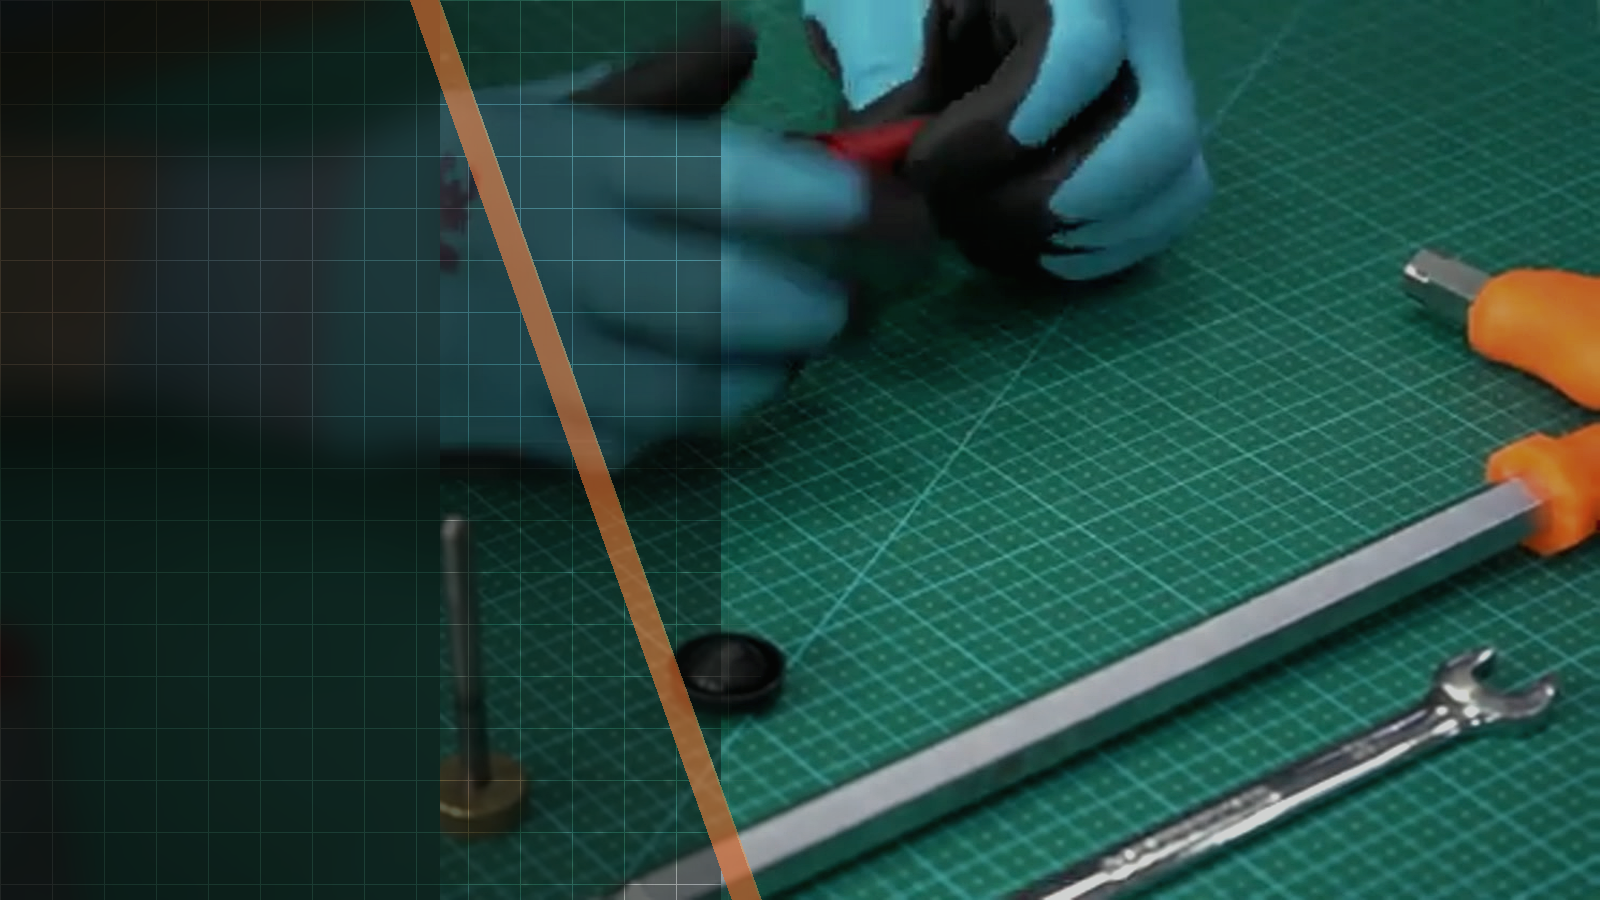
Official Silverback video workshop
Silverback TAC-41 A Handguard Installation Guide
This official Silverback video demonstrates how the handguard attaches directly to the aluminum chassis of the TAC-41 A. Use this guide when you need to follow the installation sequence from the separated upper and barrel assembly, through plate and screw positioning, to handguard alignment and reinstallation of the upper assembly.

01Source-based overview
What this procedure does
The video begins with the upper and barrel assembly separated from the TAC-41 A chassis, exposing the mounting points. Retaining plates are positioned inside the chassis, and screws are placed in the shown holes, including the first and third threaded holes indicated in the video. The aluminium handguard then slides over the chassis and is aligned with it.
Once the handguard is in position, the remaining screws are tightened into the retaining plates before the barrel and upper assembly are reinstalled. The official description identifies the handguard as SBA-HDG-30, made from 6000 series aluminum with CNC machining and hard black anodizing, weighing 310 Grams. It also specifies a full-length top Picatinny rail, M-LOK slots on both sides, the lower 45° sides and the underside, and states that the outer barrel can be removed without removing the handguard.
Tools and parts explicitly identified
No separate tool is explicitly shown or specified in the official source.
Evidence standard
Every technical statement below is restricted to the official Silverback description, subtitles, on-screen text or visible action. Unstated torque values and compatibility claims are intentionally omitted.
What the footage makes clear
This walkthrough stays close to the official Silverback source. The expanded notes explain what is visible at each checkpoint, while measurements, compatibility and cautions remain limited to what Silverback actually states.
- Installation sequence and visible component positions are attributed to the visual review observations from the official video.
- Product reference, construction, weight, rail and M-LOK specifications, compatibility statement and outer-barrel detail are attributed to the official video description.
- No official or automatic English or French subtitle track was available.
| Specification | Source value |
|---|---|
| Reference | SBA-HDG-30 |
| Construction | 6000 series aluminum, CNC machined, hard black anodizing |
| Weight | 310 Grams |
| Top rail | Full length Picatinny rail on top |
| Side slots | 8 and 1/2 MLOK slots on each side |
| Lower 45° slots | 4 and 1/2 MLOK slots on each 45° lower side |
| Underside slots | 4 and 1/2 MLOK slots on the under side |
| Compatibility | NOT COMPATIBLE WITH TAC-41P STOCK |
| Outer barrel removal | outer barrel can be removed without removing the handguard |
02Primary source
Watch the official Silverback tutorial
Every technical statement below is restricted to the official Silverback description, subtitles, on-screen text or visible action. Unstated torque values and compatibility claims are intentionally omitted.
03Procedure
Silverback TAC-41 A Handguard Installation Guide, step by step


- NOT COMPATIBLE WITH TAC-41P STOCK
- The aluminium handguard is aligned with the TAC-41 A chassis before the remaining screws are tightened.
- The barrel and upper assembly is reinstalled after the handguard is secured.
04FAQ
TAC-41 tutorial questions
What is the handguard reference?
The official reference is SBA-HDG-30.
Is the handguard compatible with the TAC-41P stock?
No. The official description states: NOT COMPATIBLE WITH TAC-41P STOCK.
Can the outer barrel be removed without removing the handguard?
Yes. The official description states that the outer barrel can be removed without removing the handguard.
Share:
Silverback TAC-41 Long Magazine Stripdown and Use Guide
Silverback TAC-41 Sport Hop-Up Shim Guide