
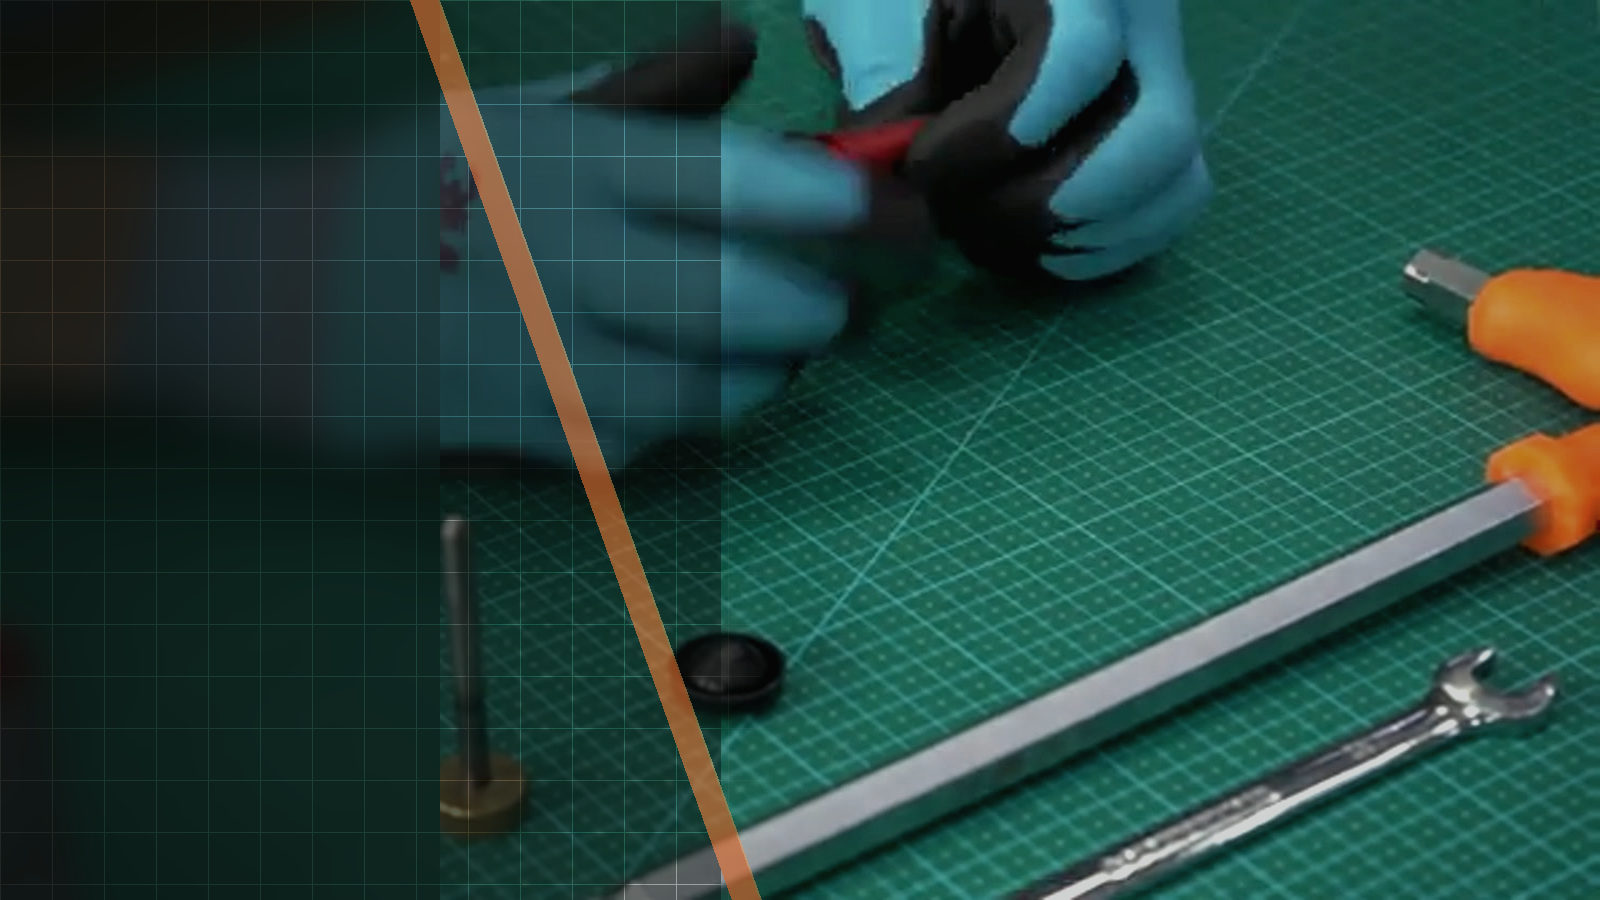
Official Silverback video workshop
Silverback TAC-41 Lite First Assembly Guide
This official Silverback video follows the first assembly of the partially disassembled TAC-41 L/LS, from securing the bolt handle through fitting the stock and outer barrel. Use this guide when checking the assembly sequence, the receiver and barrel relationship, or the recovery of a barrel-clamp nut that has fallen into the stock.

01Source-based overview
What this procedure does
The video begins with the TAC-41 L/LS components separated after unboxing, then secures the bolt handle, attaches the stock with a T20 Torx screwdriver, and fits the outer barrel into the receiver. The barrel slides into place and turns clockwise to lock, while the hop-up wheel and receiver rail are shown parallel before the recommended tightening values are applied.
The final section addresses a specific assembly problem: loosening a barrel-clamping screw too far can allow its nut to drop into the stock. The demonstrated recovery is to remove the magazine and stock, identify the missing nut inside the stock, return it to position, reassemble the stock, and tighten the corresponding screw. The official description also states that the TAC-41 L/LS is delivered partially disassembled, with a 90N spring installed in most countries and a spare 120N spring.
Tools and parts explicitly identified
- 10 mm wrench
- threadlock
- T20 Torx screwdriver
Evidence standard
Every technical statement below is restricted to the official Silverback description, subtitles, on-screen text or visible action. Unstated torque values and compatibility claims are intentionally omitted.
What the footage makes clear
This walkthrough stays close to the official Silverback source. The expanded notes explain what is visible at each checkpoint, while measurements, compatibility and cautions remain limited to what Silverback actually states.
- The sequence and visible assembly actions are attributed to the official video transcript and visual review observations.
- The model coverage, partial-delivery state, spring values, and compatibility wording are attributed to the official video description and transcript.
- The receiver-specific tightening values are attributed to the official transcript and visual review observations.
- The barrel-clamp nut recovery sequence is attributed to the official transcript and visual review observations.
| Specification | Source value |
|---|---|
| Supported models | TAC-41 L & TAC-41 LS |
| Installed spring in most countries | 90N |
| Spare spring in most countries | 120N |
| Recommended tightening torque for Aluminium receiver | 4 Nm |
| Recommended tightening torque for Nylon receiver | 1 Nm |
02Primary source
Watch the official Silverback tutorial
Every technical statement below is restricted to the official Silverback description, subtitles, on-screen text or visible action. Unstated torque values and compatibility claims are intentionally omitted.
03Procedure
Silverback TAC-41 Lite First Assembly Guide, step by step


- RTFM! Read The Fantastic Manual.
- Tools provided with the airsoft replica must be considered as backup tools.
- If you untight too much a barrel clamping screw, the nut may drop.
- The bolt handle is secured in place.
- Both sides of the stock are tightened.
- The outer barrel is turned clockwise to lock it.
- The hop-up wheel and the receiver rail are parallel.
- The missing nut is placed back in position before the stock is reassembled and the corresponding screw is tightened.
04FAQ
TAC-41 tutorial questions
Which TAC-41 models does this assembly video cover?
The official video covers the TAC-41 L/LS, also described as the TAC-41 Lite / Lite Sport.
What spring configuration is stated for most countries?
The TAC-41 L/LS is delivered with a 90N spring installed and a spare 120N spring.
What happens if a barrel-clamping screw is loosened too far?
The nut may drop into the stock. The video shows removing the magazine and stock, placing the nut back in position, reassembling the stock, and tightening the corresponding screw.
Share:
Silverback TAC-41 Sport Hop-Up Shim Guide
Silverback TAC-41 P Feeding Ramp and Magazine Guide