Official Silverback video workshop

Silverback TAC-41 Short Magazine Stripdown Guide

This official Silverback video demonstrates the disassembly and reassembly of the TAC-41 short magazine, identified as T41-1000. It is useful when you need to follow the magazine’s internal parts from the careful opening stage through removal, layout and reverse-order rebuilding, including the 4 mm rigid pin shown guiding the spring during reassembly.

Primary source
TAC-41
Official Silverback video workshop
Source-based overview
1:35
Evidence standard
Silverback TAC-41 Short Magazine Stripdown Guide
5step by step
1:35Video
5Tools and parts explicitly identified
TAC-41platform hub

01Source-based overview

What this procedure does

The video follows the short TAC-41 magazine as it is opened carefully, with attention to an internal spring-loaded component that can jump free. The guide, spring and other internal parts are then removed and laid out so their relationship within the magazine can be seen before rebuilding begins.

Reassembly follows the reverse order of disassembly. At the rebuilding stage, a 4 mm rigid pin is shown retaining and guiding the spring. The official description identifies the magazine as T41-1000 and describes the video as a tutorial for disassembly and assembly of the TAC-41 short magazine; it does not establish a torque value.

Tools and parts explicitly identified

  • 4 mm rigid pin
  • short magazine (T41-1000)
  • guide
  • spring
  • internal parts

Evidence standard

Every technical statement below is restricted to the official Silverback description, subtitles, on-screen text or visible action. Unstated torque values and compatibility claims are intentionally omitted.

What the footage makes clear

This walkthrough stays close to the official Silverback source. The expanded notes explain what is visible at each checkpoint, while measurements, compatibility and cautions remain limited to what Silverback actually states.

  • The official video title supplies the TAC-41 short magazine stripdown subject.
  • The official video description identifies the short magazine as T41-1000 and describes disassembly and assembly.
  • Visual review observations establish the spring-loaded opening, removed and laid-out parts, reverse-order rebuild and 4 mm rigid pin.
  • The fixed timestamps are supplied as useful frame times in the evidence packet.
Specification Source value
Platform TAC-41
Short magazine T41-1000
Which magazine does the video cover?Which tools or parts are identified for Silverback TAC-41 Short Magazine Stripdown Guide?

02Primary source

Watch the official Silverback tutorial

Every technical statement below is restricted to the official Silverback description, subtitles, on-screen text or visible action. Unstated torque values and compatibility claims are intentionally omitted.

What should I watch for before Open the magazine carefully?Where does the official video show Complete the reverse-order rebuild?

03Procedure

Silverback TAC-41 Short Magazine Stripdown Guide, step by step

TAC-41 The short magazine is being opened under control before its spring-loaded interior is exposed.
The short magazine is being opened under control before its spring-loaded interior is exposed.
TAC-41 The guide, spring and internal components are coming out of the opened short magazine.
The guide, spring and internal components are coming out of the opened short magazine.
TAC-41 The magazine parts are arranged together after removal, creating the visual reference for rebuilding.
The magazine parts are arranged together after removal, creating the visual reference for rebuilding.
TAC-41 A 4 mm rigid pin retains and guides the spring as the magazine is rebuilt.
A 4 mm rigid pin retains and guides the spring as the magazine is rebuilt.
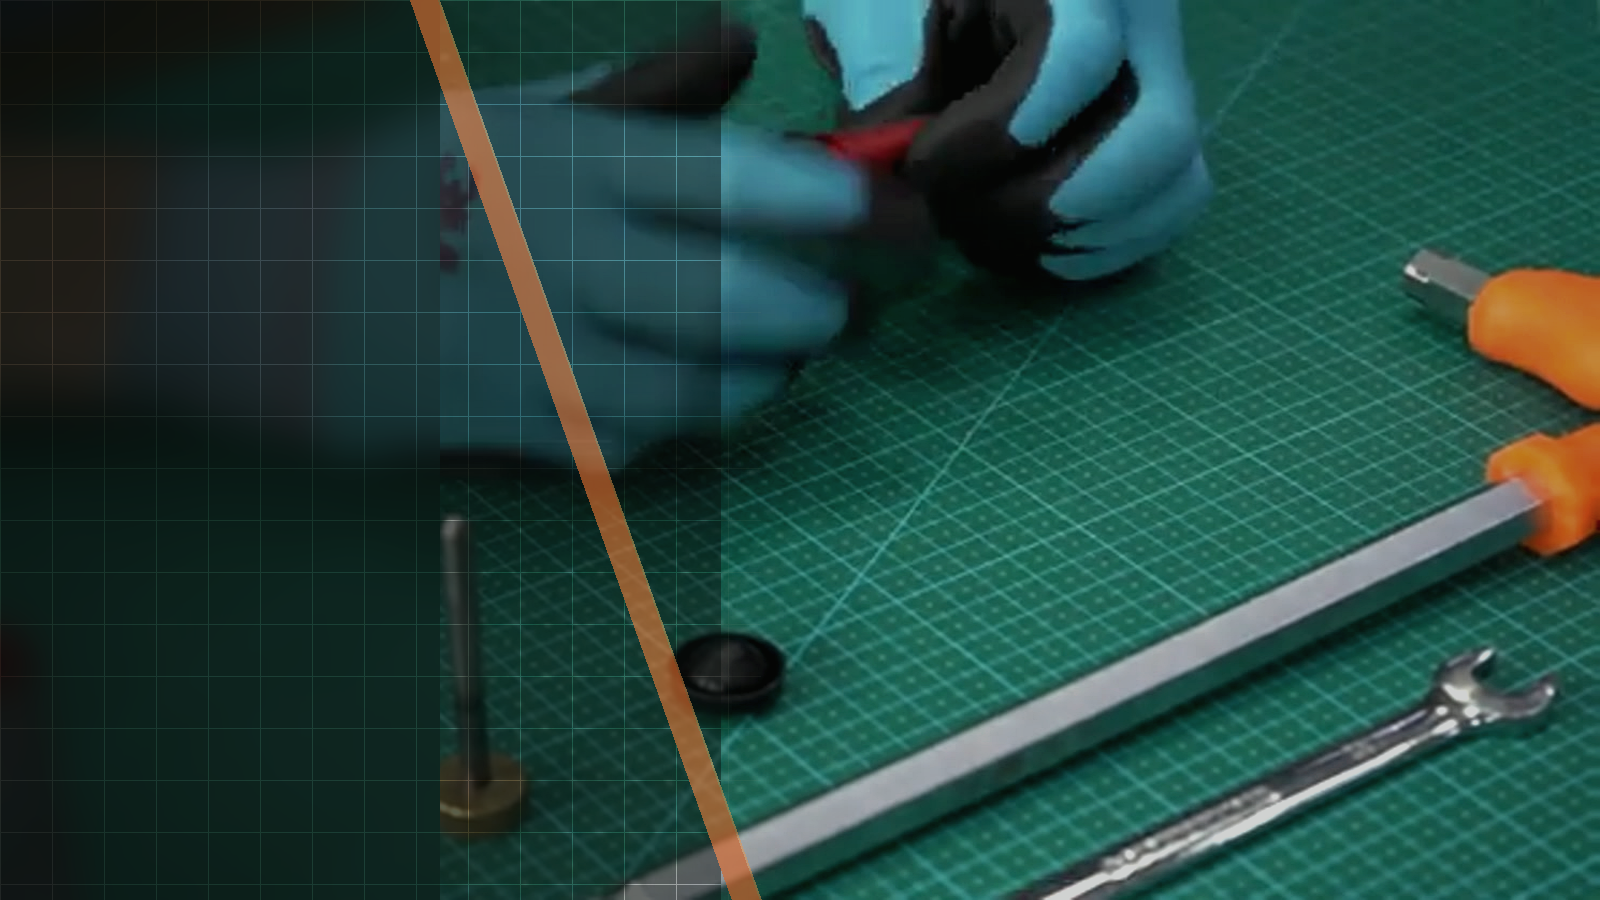
01Open the magazine carefullyThe hands begin opening the short TAC-41 magazine while controlling the internal spring-loaded component. Compare the frame with the closed magazine being opened and note that this is the point where the internal component may jump free. Once the magazine has been opened, the next checkpoint moves to removing the guide, spring and internal parts. Video: 00:09 ↗
02Remove the internal assemblyThe guide, spring and internal parts are removed from the opened magazine. The frame should be read as a transition from the magazine body to the separated components, rather than as a completed rebuild. Before moving on, compare the visible parts with the next layout stage, where they are placed out for inspection. Video: 00:26 ↗
03Lay out the removed partsThe removed guide, spring and internal parts are laid out so the magazine’s disassembled contents are visible together. This checkpoint connects the extraction stage to reassembly: the parts are no longer inside the magazine, and the next sequence begins putting them back in reverse order. Use the frame to compare the separated components before rebuilding continues. Video: 00:43 ↗
04Guide the spring during rebuildingReassembly begins in reverse order, with the internal parts returning to the short magazine. A 4 mm rigid pin is shown retaining and guiding the spring at this checkpoint. Compare the pin’s position with the spring and magazine interior; this visible arrangement leads directly into the final rebuilt state. Video: 01:00 ↗
05Complete the reverse-order rebuildThe rebuild continues until the short magazine is reassembled in the reverse order of disassembly. The frame should now be compared with the earlier opened and laid-out states: the guide, spring and internal parts have returned inside the magazine. This is the final demonstrated checkpoint of the stripdown and assembly sequence. Video: 01:18 ↗
Source-stated cautions
  • An internal spring-loaded component can jump free when the short magazine is opened.
Checks shown or stated
  • The magazine is rebuilt in reverse order.
  • The 4 mm rigid pin is shown retaining and guiding the spring during reassembly.
How do I complete Open the magazine carefully safely?What must I check after Complete the reverse-order rebuild?

04FAQ

TAC-41 tutorial questions

Which magazine does the video cover?

It covers the short magazine of the TAC-41, identified in the official description as T41-1000.

What happens to the guide, spring and internal parts?

They are removed and laid out, then returned to the magazine during reassembly in reverse order.

What is the 4 mm rigid pin used for in the video?

The visual review shows it retaining and guiding the spring during reassembly.

Which magazine does the video cover?What happens to the guide, spring and internal parts?

Latest Stories

This section doesn’t currently include any content. Add content to this section using the sidebar.
Skirmshop AI