
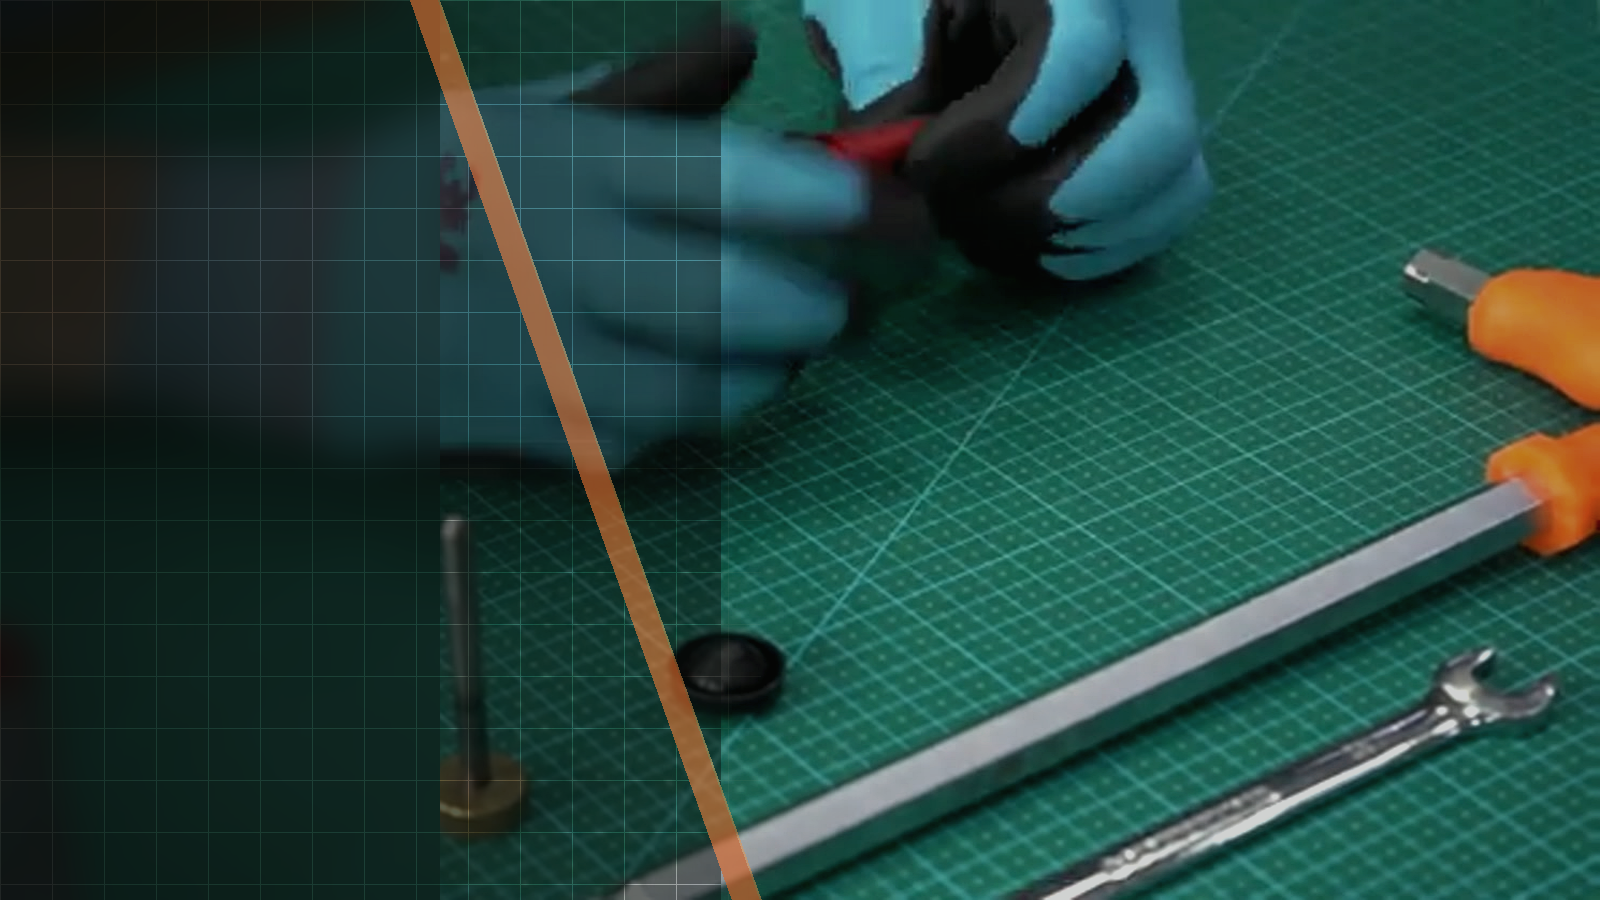
Official Silverback video workshop
Silverback TAC-41 P Complete Assembly Guide
This official Silverback workshop video follows the TAC-41 P from individual components through its completed assembly. It is useful when you need a visual overview of the full sequence, from the piston and bolt through the receiver, stock, magazine and final function check, while keeping adjustment-specific work separate in the dedicated tutorials linked by Silverback.

01Source-based overview
What this procedure does
The video presents the TAC-41 P as a sequence of parts and subassemblies rather than as one uninterrupted operation. It begins with the piston, spring guide, bolt handle, cylinder and complete bolt, then moves through the trigger box, safety, chassis, receiver, barrel and upper mechanics. The footage also shows threadlocker and lubricant being applied where demonstrated, with parts aligned and tightened as the assembly progresses.
The later checkpoints move into the polymer stock, including the stock inserts, trigger guard, cheek pad and full stock, before the magazine and final assembly. The barrel and hop assembly enters the receiver, the upper mechanics are seated in the polymer stock, and the completed replica is function-checked. Silverback directs viewers to separate tutorials for trigger adjustment, hopup rubber swapping, stock ergonomics, spring and barrel swaps, magazine stripdown and right/left conversion rather than treating this overview as a source for omitted adjustment details.
Tools and parts explicitly identified
No separate tool is explicitly shown or specified in the official source.
Evidence standard
Every technical statement below is restricted to the official Silverback description, subtitles, on-screen text or visible action. Unstated torque values and compatibility claims are intentionally omitted.
What the footage makes clear
This walkthrough stays close to the official Silverback source. The expanded notes explain what is visible at each checkpoint, while measurements, compatibility and cautions remain limited to what Silverback actually states.
- The official video title and chapter labels are taken from Silverback’s official video description.
- The assembly sequence, applied threadlocker and lubricant, alignment and tightening, stock seating, magazine assembly and final function check are taken from the visual review observations.
- The separate adjustment and conversion subjects are taken from the official description’s linked Silverback tutorials.
| Specification | Source value |
|---|---|
| Platform | tac-41 |
| Model | TAC-41 P |
| Official video title | TAC-41 P - Complete Assembly |
02Primary source
Watch the official Silverback tutorial
Every technical statement below is restricted to the official Silverback description, subtitles, on-screen text or visible action. Unstated torque values and compatibility claims are intentionally omitted.
03Procedure
Silverback TAC-41 P Complete Assembly Guide, step by step


- The completed replica is function-checked in the footage.
04FAQ
TAC-41 tutorial questions
What does the official TAC-41 P assembly video cover?
It covers the full assembly of a TAC-41 P, part by part and subassembly per subassembly, including the piston, bolt, trigger box, safety, chassis, receiver, barrel, upper mechanics, stock, magazine and final assembly.
Does this video provide the detailed trigger, spring or barrel procedures?
No. Silverback lists dedicated videos for trigger adjustment, spring swap and barrel swap, along with separate tutorials for other adjustment- or conversion-specific subjects.
What happens at the end of the assembly sequence?
The magazine section is followed by full assembly, and the footage shows the completed replica being function-checked.
Share:
Silverback TAC-41 Trigger Adjustment Guide
Silverback Advanced Piston Head Installation Guide