
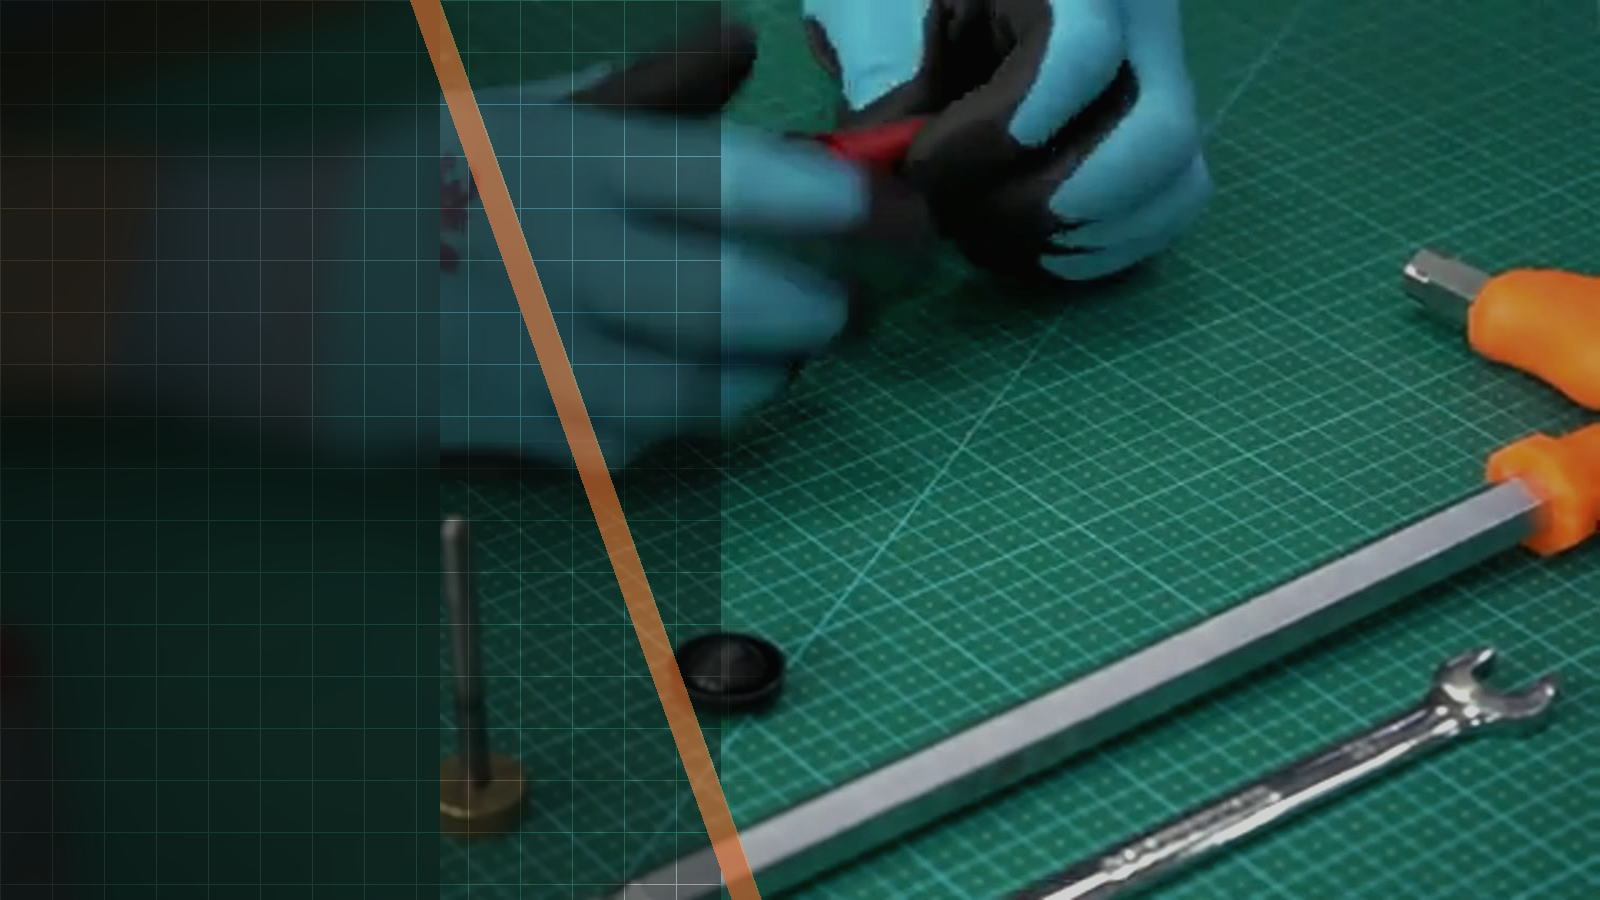
Official Silverback video workshop
Silverback TAC-41 Right/Left Conversion Guide
This official Silverback video demonstrates how a TAC-41 is converted between right-handed and left-handed operation. Use this guide when following the video and comparing the bolt, locating pin, fasteners, receiver, and stock-side pieces at each visual checkpoint, especially when the TAC-41 has a steel bolt assembly or is a Sport model.

01Source-based overview
What this procedure does
The sequence begins with the bolt removed after the spring-guide stopper is engaged with the illustrated tool. The bolt handle and associated pieces then come off, the handle moves to the opposite side, and the lug socket and bolt-end components are flipped so their locating pin sits opposite the bolt handle. The fasteners are reinstalled as the assembly changes sides.
The final part of the video returns the bolt to the receiver with the spring-guide stopper's flat surface facing forward, then moves the stock-side cheek and bolt-access pieces to the opposite side. The official description establishes that the tutorial covers conversion in either direction and features a TAC-41 with a steel bolt assembly. For Sport models, the lug socket pin must be removed before flipping; the M6x4 ISO4026 screw is not included on Sport bolt assemblies, and the subtitles incorrectly identify it as M4x6.
Tools and parts explicitly identified
- illustrated tool
- steel bolt assembly
- bolt handle
- lug socket/bolt-end components
- spring-guide stopper
- M6x4 ISO4026 screw
Evidence standard
Every technical statement below is restricted to the official Silverback description, subtitles, on-screen text or visible action. Unstated torque values and compatibility claims are intentionally omitted.
What the footage makes clear
This walkthrough stays close to the official Silverback source. The expanded notes explain what is visible at each checkpoint, while measurements, compatibility and cautions remain limited to what Silverback actually states.
- The five checkpoints and visible actions are based on the visual review observations from the official video.
- The conversion direction, steel bolt assembly, Sport-model pin requirement, screw inclusion note, and subtitle correction come from the official video description.
- The counterclockwise rotation completion text is identified in the visual review observations.
| Specification | Source value |
|---|---|
| Platform | TAC-41 |
| Conversion | right handed T41 to a left handed T41, or the opposite |
| Featured bolt assembly | steel bolt assembly |
| Sport-model lug socket requirement | the lug socket pin must be removed before flipping it |
| Sport-model screw | M6x4 ISO4026 screw is not included on Sport bolt assemblies |
02Primary source
Watch the official Silverback tutorial
Every technical statement below is restricted to the official Silverback description, subtitles, on-screen text or visible action. Unstated torque values and compatibility claims are intentionally omitted.
03Procedure
Silverback TAC-41 Right/Left Conversion Guide, step by step


- For Sport models, the lug socket pin must be removed before flipping it.
- The M6x4 ISO4026 screw is not included on Sport bolt assemblies.
- The subtitles contain a typo: the M6x4 ISO4026 screw is incorrectly labeled as M4x6.
- The completed left-handed bolt is identified on screen as using counterclockwise rotation.
- The bolt returns to the receiver with the spring-guide stopper's flat surface facing forward.
- The stock-side cheek and bolt-access pieces are on the opposite side.
04FAQ
TAC-41 tutorial questions
What conversion does this Silverback TAC-41 tutorial demonstrate?
It demonstrates converting a right-handed T41 to a left-handed T41, or converting it in the opposite direction.
What is different for Sport models before flipping the lug socket?
The official description says the lug socket pin must be removed before flipping it.
Is the M6x4 ISO4026 screw included with Sport bolt assemblies?
No. The official description states that the M6x4 ISO4026 screw is not included on Sport bolt assemblies, and notes that the subtitles incorrectly label it as M4x6.
Share:
Silverback Carbon Dummy Suppressor Installation Guide
Silverback TAC-41 Short Magazine Stripdown Guide