
Official Silverback video workshop
Silverback TAC-41 Sport Hop-Up Shim Guide
This official Silverback video demonstrates how the two shims beneath the TAC-41 Sport hopup wheel affect preload. Use this guide when you need to identify the small shim under the screw head, the large shim below the O-ring, and the source-defined sequence for removing the wheel, taking out both shims, and reinstalling the parts.

01Source-based overview
What this procedure does
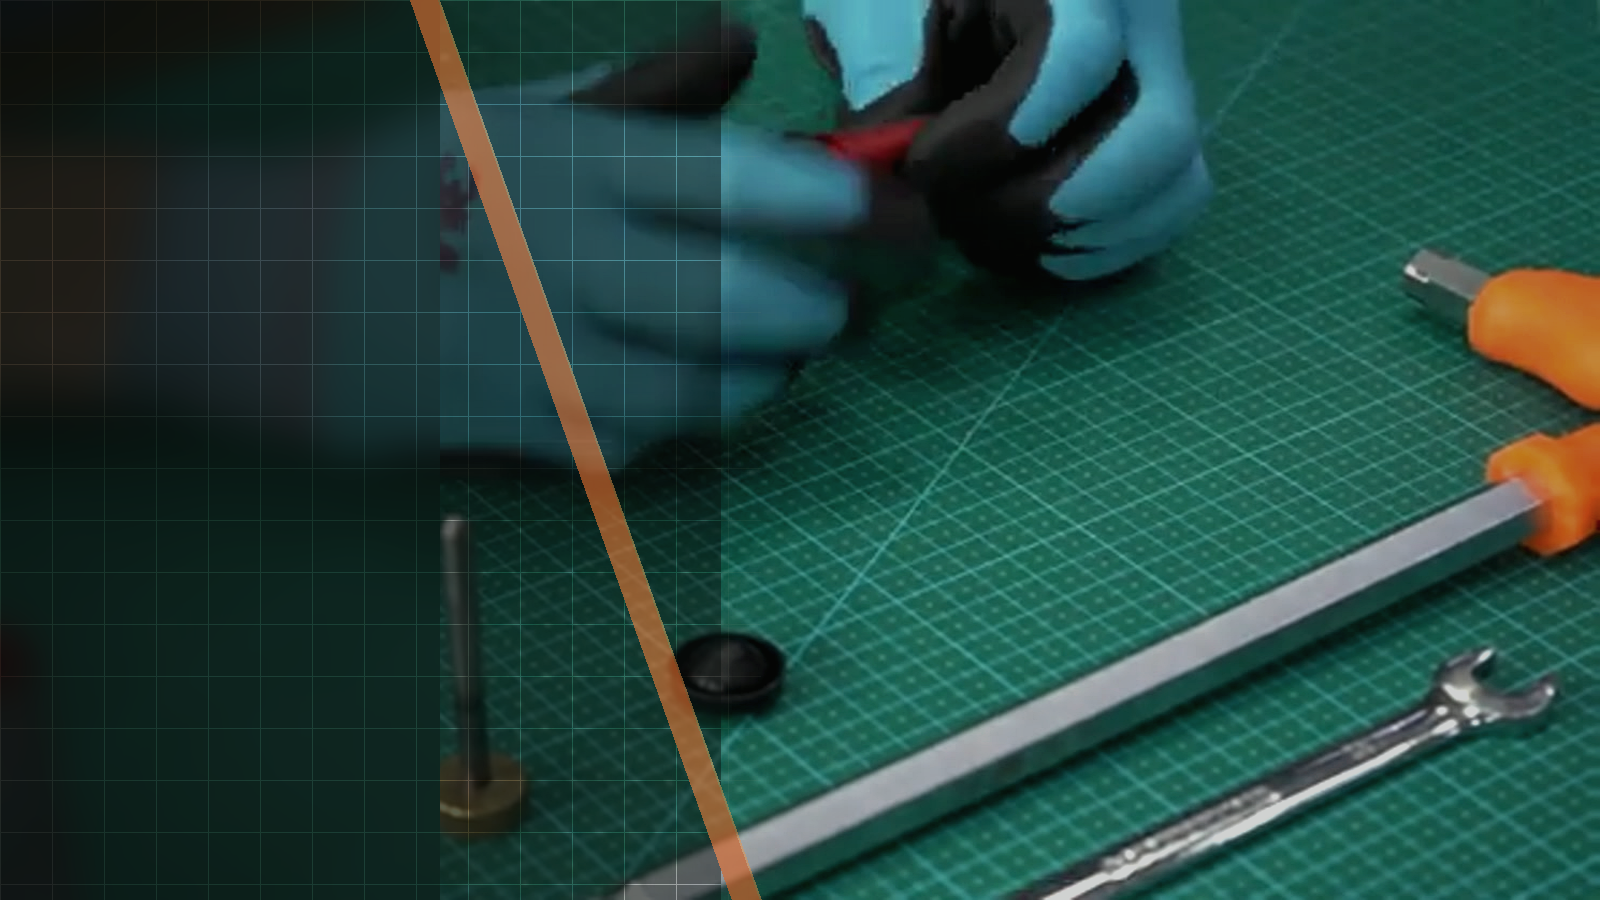
The TAC-41 Sport is equipped with a hopup preload adjustment system, and the hopup TDC wheel has 750µm of travel. The official sequence begins by removing the wheel with a 3 mm Allen screwdriver. The small shim may remain attached beneath the screw head, while the large shim is positioned below the O-ring; the source states that both shims should have the same thickness.
Removing both shims increases the hopup effect and places the TAC-41 hopup in what the transcript calls "preload mode", which can lift heavy bbs. The O-ring and screw are then replaced, with the screw tightened to low torque—finger tight only. The official description warns that removing the shims can cause jams with strong hopup setups, so that source-defined caution remains part of the procedure.
Tools and parts explicitly identified
- 3 mm Allen screwdriver
- TAC-41 hopup wheel
- small shim
- large shim
- O-ring
- screw
Evidence standard
Every technical statement below is restricted to the official Silverback description, subtitles, on-screen text or visible action. Unstated torque values and compatibility claims are intentionally omitted.
What the footage makes clear
This walkthrough stays close to the official Silverback source. The expanded notes explain what is visible at each checkpoint, while measurements, compatibility and cautions remain limited to what Silverback actually states.
- The official video title and fixed timestamps come from the supplied official video evidence.
- The 3 mm Allen screwdriver, shim positions, O-ring and screw sequence, finger-tight instruction, and preload-mode statement come from the official transcript.
- The 750µm wheel travel, equal shim-thickness requirement, shim functions, and jam warning come from the official description.
- The visual review confirms the animation shows the wheel removal, the small shim beneath the screw head, the large shim below the O-ring, and reinstallation with low, finger-tight torque.
| Specification | Source value |
|---|---|
| Platform | TAC-41 |
| Version | Sport |
| Hopup TDC wheel travel | 750µm |
| Screw tightening | Low torque. Finger tight only. |
02Primary source
Watch the official Silverback tutorial
Every technical statement below is restricted to the official Silverback description, subtitles, on-screen text or visible action. Unstated torque values and compatibility claims are intentionally omitted.
03Procedure
Silverback TAC-41 Sport Hop-Up Shim Guide, step by step


- Without the shims, you may face some jams with strong hopup setups.
- Low torque. Finger tight only.
- Both shims should have the same thickness.
- Your TAC-41 hopup is now in "preload mode", and can lift heavy bbs.
04FAQ
TAC-41 tutorial questions
What does removing both shims do on the TAC-41 Sport?
The official description says that removing both shims increases the hopup effect. The transcript calls the resulting state "preload mode" and says it can lift heavy bbs.
Where are the two shims located?
The small shim may be stuck below the screw head, while the large shim is below the O-ring.
How should the screw be tightened after reassembly?
The transcript specifies low torque: finger tight only.
Share:
Silverback TAC-41 A Handguard Installation Guide
Silverback TAC-41 Lite First Assembly Guide