
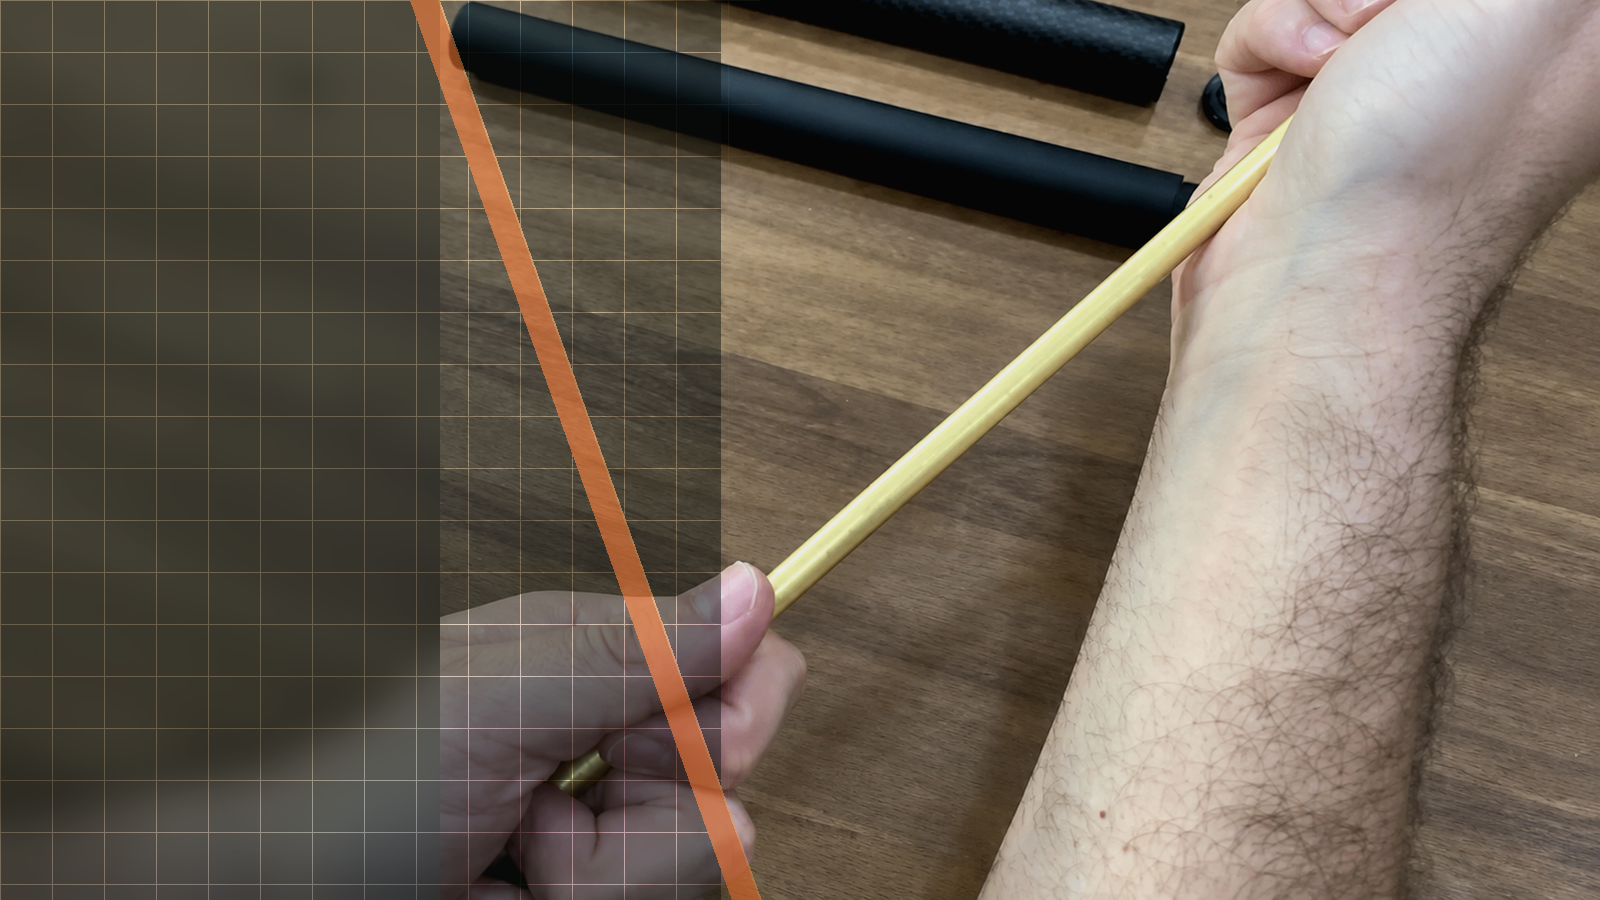
Official Silverback video workshop
Silverback Advanced Piston Head Installation Guide
This official Silverback video demonstrates the installation of an advanced piston head on the SRS / TAC-41 platform, including removal of the original head, heat-assisted loosening, tightening with a 6 mm pin and 12 mm flat wrench, and later airbrake adjustment. Use this guide when you need to follow the video’s visual sequence or confirm which piston-head version matches the cylinder-head and hop-up arrangement.

01Source-based overview
What this procedure does
The footage begins by showing the selected airbrake fitted before the advanced piston head when a short tool is being used. It then moves to removal of the original piston head: the secured cylinder is heated with a blowtorch for at least 30 seconds, with the video warning about burns and advising more heat if the head remains too tight. A 6 mm pin and 12 mm flat wrench are used to loosen the original head and later tighten the advanced head.
After full assembly, the video shows that a long 2.5 mm Allen screwdriver allows the airbrake to be changed without reopening the assembly. The official description identifies two versions: SBA-BPH-01 for an “AEG” cylinder head, compatible with SRS and TAC-41, and SBA-BPH-02 for a “GBB” cylinder head, compatible with TAC-41 using a “GBB” hopup. It also lists Viton and POM sealing parts, an NBR 80° damper, stainless steel CNC construction, and no-airbrake, short, medium and long airbrake options.
Tools and parts explicitly identified
- Blowtorch
- 6 mm pin
- 12 mm flat wrench
- Short tool
- Long 2.5 mm Allen screwdriver
Evidence standard
Every technical statement below is restricted to the official Silverback description, subtitles, on-screen text or visible action. Unstated torque values and compatibility claims are intentionally omitted.
What the footage makes clear
This walkthrough stays close to the official Silverback source. The expanded notes explain what is visible at each checkpoint, while measurements, compatibility and cautions remain limited to what Silverback actually states.
- The five checkpoints and the tool sequence are attributed to the visual review observations from the official video.
- Compatibility, construction, sealing components, mass and airbrake options are attributed to the official video description.
- No official or automatic English or French subtitle track was available.
| Specification | Source value |
|---|---|
| SBA-BPH-01 “AEG” compatibility | compatible with SRS & TAC-41 |
| SBA-BPH-02 “GBB” compatibility | compatible with TAC-41 using a “GBB” hopup |
| Viton sealing part | Viton Oring with a ventilated design |
| POM component | POM piston ring |
| Damper | NBR 80° Oring damper |
| Construction | Stainless steel CNC construction |
| Piston-head mass | from 30.2 up to 32.2 grams, instead of 7.6 grams for the original piston head |
| Airbrake options | No airbrake, short, medium & long airbrake options |
02Primary source
Watch the official Silverback tutorial
Every technical statement below is restricted to the official Silverback description, subtitles, on-screen text or visible action. Unstated torque values and compatibility claims are intentionally omitted.
03Procedure
Silverback Advanced Piston Head Installation Guide, step by step


- The video warns about burns when heating the secured cylinder with a blowtorch.
- If the original piston head remains too tight, the video says to apply more heat.
- A longer airbrake increases sound reduction but loses energy.
- The selected airbrake is fitted before the advanced piston head when using a short tool.
- The advanced piston head is tightened with a 6 mm pin and 12 mm flat wrench.
- After full assembly, a long 2.5 mm Allen screwdriver can be used to change the airbrake.
04FAQ
SRS and TAC-41 tutorial questions
Which advanced piston head is compatible with SRS and TAC-41?
The official description identifies SBA-BPH-01, the “AEG” version, as compatible with SRS & TAC-41.
Which version is for a TAC-41 with the “GBB” cylinder head and hop-up?
The official description identifies SBA-BPH-02, the “GBB” version, as compatible with TAC-41 using a “GBB” hopup.
Can the airbrake be changed after the piston-head assembly is complete?
Yes. The footage shows that a long 2.5 mm Allen screwdriver allows the airbrake to be changed after full assembly.
Share:
Silverback TAC-41 P Complete Assembly Guide
Silverback TAC-41 Advanced Hop-Up Kit Installation Guide