
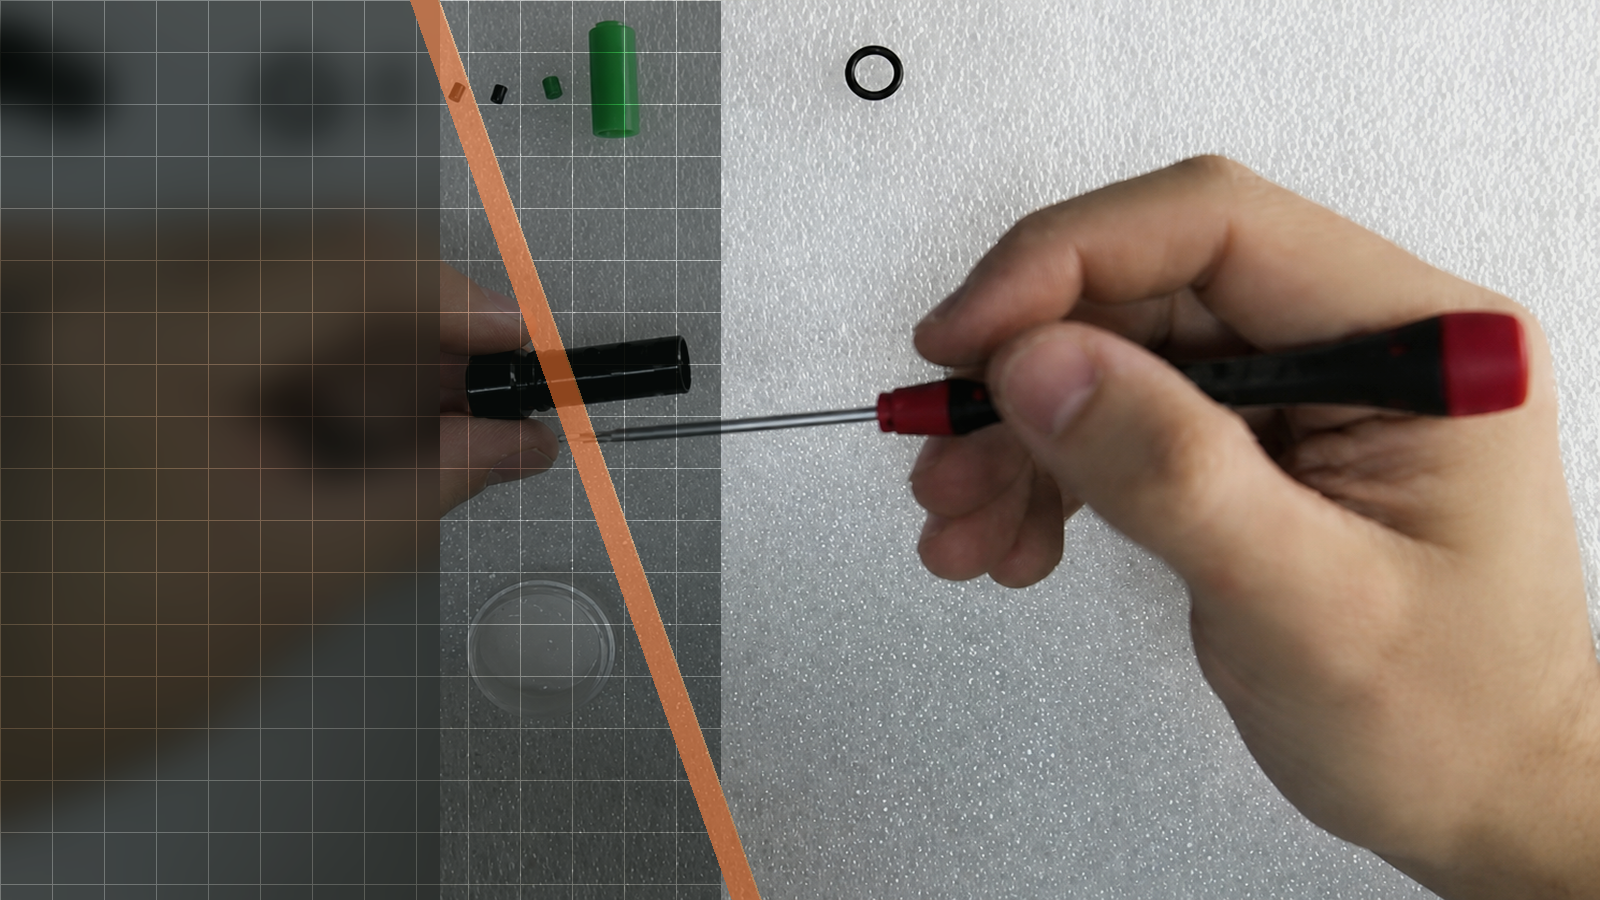
Official Silverback video workshop
Silverback SRS Piston Sear Adjustment Guide
This official Silverback video demonstrates how to adjust piston-sear height on an SRS from Model 2017 onward. The guide is useful when the rifle shows slamfiring or a long, heavy trigger pull, and follows the footage from opening the stock through adjustment, screw placement, torque and the final function check.

01Source-based overview
What this procedure does
The video begins with the stock opened so the piston-sear adjustment can be accessed. Step 3 identifies two screws and a 3 mm hex, then diagrams distinguish low adjustment from high adjustment: low adjustment gives a lighter trigger pull, while excessive adjustment can cause slamfire. The same visual section identifies high adjustment for strong springs M160 and stronger and shows a point to press to engage the bolt inside the receiver.
Once the adjustment section is complete, the stock is closed with 12 screws using a 2.5 mm hex. The reassembly sequence identifies screw positions for M4x27, M4x40, M4x16, M4x38 and M4x23, followed by 3 Nm torque. The completed rifle is then function-checked, providing the final checkpoint shown in the official footage.
Tools and parts explicitly identified
- 3 mm hex
- 2.5 mm hex
- stock
- piston sear
- bolt
- screws
Evidence standard
Every technical statement below is restricted to the official Silverback description, subtitles, on-screen text or visible action. Unstated torque values and compatibility claims are intentionally omitted.
What the footage makes clear
This walkthrough stays close to the official Silverback source. The expanded notes explain what is visible at each checkpoint, while measurements, compatibility and cautions remain limited to what Silverback actually states.
- The official video description establishes the Model 2017 onward coverage and the slamfiring or long/heavy trigger-pull conditions.
- Visual review observations establish the opened stock, adjustment hardware, adjustment diagrams, screw counts, hex sizes, screw-position labels, 3 Nm torque and final function check.
- No official or automatic English or French subtitle track was available.
| Specification | Source value |
|---|---|
| Platform | SRS |
| Model coverage | Model 2017 onwards |
| Adjustment screws | two screws total |
| Adjustment hex | 3 mm hex |
| Stock-closing screws | 12 screws |
| Stock-closing hex | 2.5 mm hex |
| Strong-spring range | M160 and stronger |
| Reassembly torque | 3 Nm |
| Reassembly screw positions | M4x27, M4x40, M4x16, M4x38 and M4x23 |
02Primary source
Watch the official Silverback tutorial
Every technical statement below is restricted to the official Silverback description, subtitles, on-screen text or visible action. Unstated torque values and compatibility claims are intentionally omitted.
03Procedure
Silverback SRS Piston Sear Adjustment Guide, step by step


- Excessive adjustment can cause slamfire.
- The completed rifle is function-checked.
04FAQ
SRS tutorial questions
Which SRS models are covered by this piston-sear height adjustment?
The official video states that fine piston-sear height adjustment is available from Model 2017 onwards.
What symptoms may mean the piston-sear height needs adjustment?
The official description states that slamfiring or a long/heavy trigger pull may mean the piston-sear height has to be adjusted.
What hex sizes and torque are shown in the procedure?
The adjustment uses a 3 mm hex, stock closing uses a 2.5 mm hex, and the reassembly sequence states 3 Nm torque.
Share:
Silverback Variable Mass Piston Tuning Guide for SRS & TAC-41
Silverback SRS Outer Barrel Swap Guide