
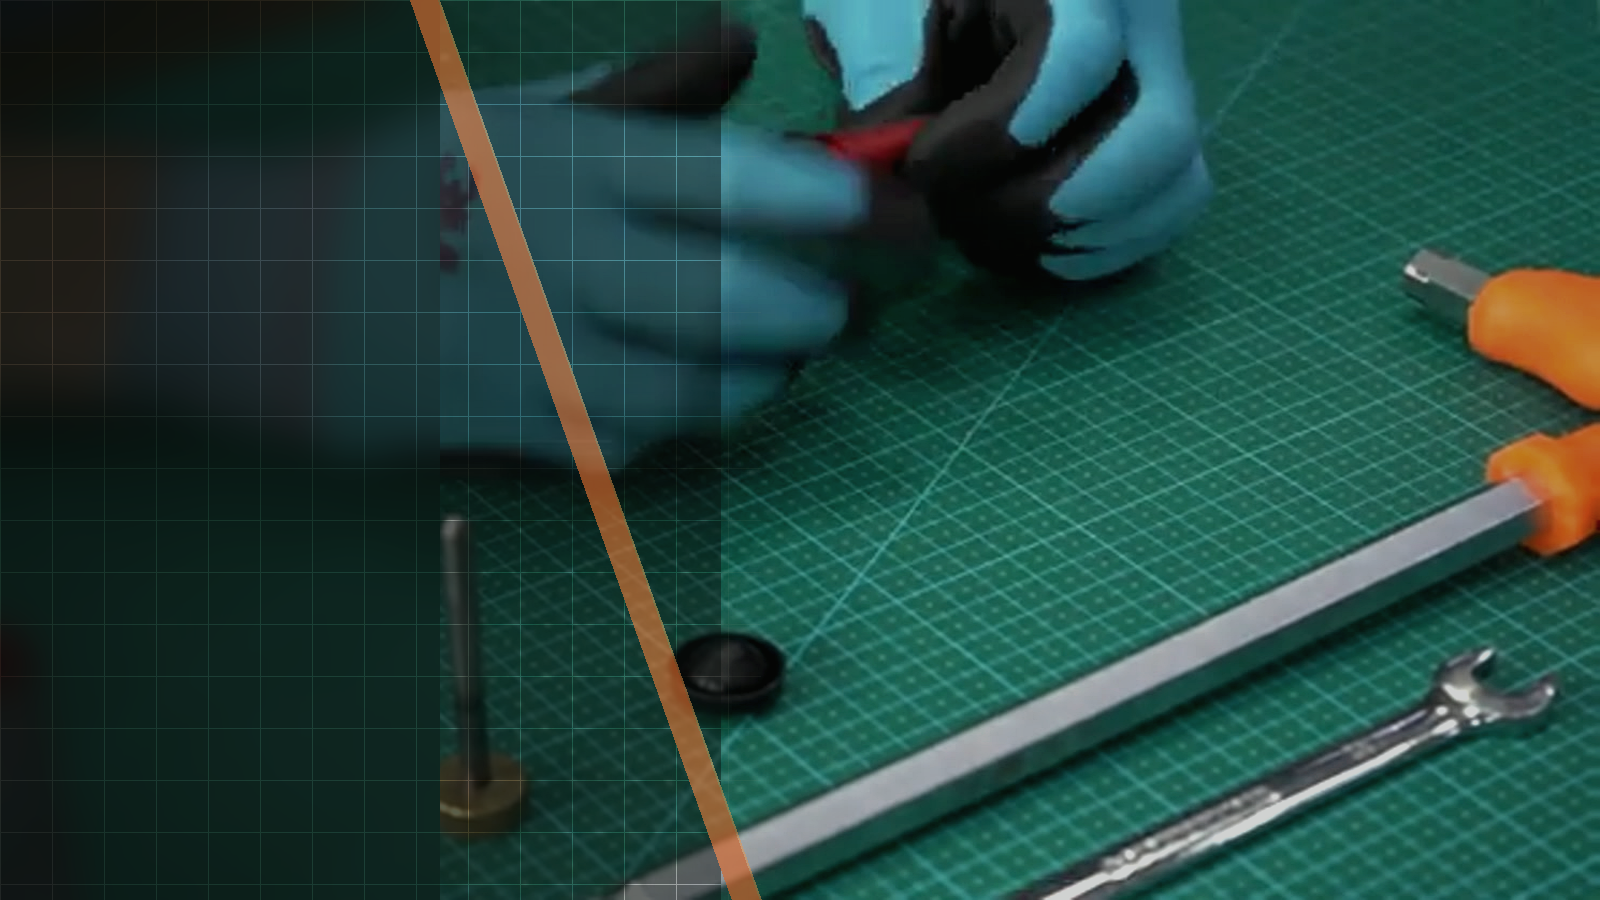
Official Silverback video workshop
Silverback TAC-41 Barrel Swap Guide
Silverback’s official TAC-41 - Barrel Swap video demonstrates the complete outer-barrel change from the original 510 mm tapered barrel to the optional 330 mm fluted CNC barrel. This guide is useful when you need to follow the video’s checkpoint sequence: loosen the stock screws from muzzle toward bolt, remove the original barrel, reverse the operation with the replacement, and finish by tightening at 4 Nm.

01Source-based overview
What this procedure does
The video shows a TAC-41 barrel swap in a short, fixed sequence. The stock screws are loosened progressively from the muzzle side toward the bolt side, while the footage specifically cautions against loosening them too far because the stock can deform. Once that screw sequence is complete, the original outer barrel is turned counterclockwise and removed.
The replacement barrel is then inserted by reversing the removal operation. Silverback’s official example changes the original 510 mm tapered barrel to the optional 330 mm fluted CNC barrel. At the final checkpoint, the stock screws are tightened again from muzzle toward bolt, with the video specifying 4 Nm for the final tightening. The official description identifies the tutorial as applying to the T41, while the platform listing identifies TAC-41.
Tools and parts explicitly identified
- stock screws
- original 510 mm tapered outer barrel
- optional 330 mm fluted CNC barrel
Evidence standard
Every technical statement below is restricted to the official Silverback description, subtitles, on-screen text or visible action. Unstated torque values and compatibility claims are intentionally omitted.
What the footage makes clear
This walkthrough stays close to the official Silverback source. The expanded notes explain what is visible at each checkpoint, while measurements, compatibility and cautions remain limited to what Silverback actually states.
- The official video title and URL identify the footage as Silverback’s TAC-41 - Barrel Swap tutorial.
- The visual review observations establish the screw direction, the caution about stock deformation, counterclockwise barrel removal, reverse-operation insertion, and final tightening at 4 Nm.
- The official video description establishes the T41 application and the example change from the original 510 mm tapered barrel to the optional 330 mm fluted CNC barrel.
- The fixed timestamps come from the supplied useful-time list.
| Specification | Source value |
|---|---|
| Platform | TAC-41 |
| Official example: original barrel | 510 mm tapered |
| Official example: replacement barrel | 330 mm fluted CNC |
| Final tightening | 4 Nm |
| Official description compatibility wording | T41 |
02Primary source
Watch the official Silverback tutorial
Every technical statement below is restricted to the official Silverback description, subtitles, on-screen text or visible action. Unstated torque values and compatibility claims are intentionally omitted.
03Procedure
Silverback TAC-41 Barrel Swap Guide, step by step


- Do not loosen the stock screws too far because this can deform the stock.
- The original outer barrel has been removed by turning it counterclockwise.
- The replacement barrel has been inserted by reversing the removal operation.
- Final tightening is performed from muzzle toward bolt at 4 Nm.
04FAQ
TAC-41 tutorial questions
Which barrel change does the official Silverback example demonstrate?
It changes the original 510 mm tapered barrel to the optional 330 mm fluted CNC barrel.
In what direction are the stock screws loosened and tightened?
Both operations proceed from the muzzle side toward the bolt side.
What tightening value is specified at the end of the video?
The final tightening is specified at 4 Nm.
Share:
Silverback TAC-41 Short Magazine Stripdown Guide
Silverback TAC-41 Spring Swap Guide