
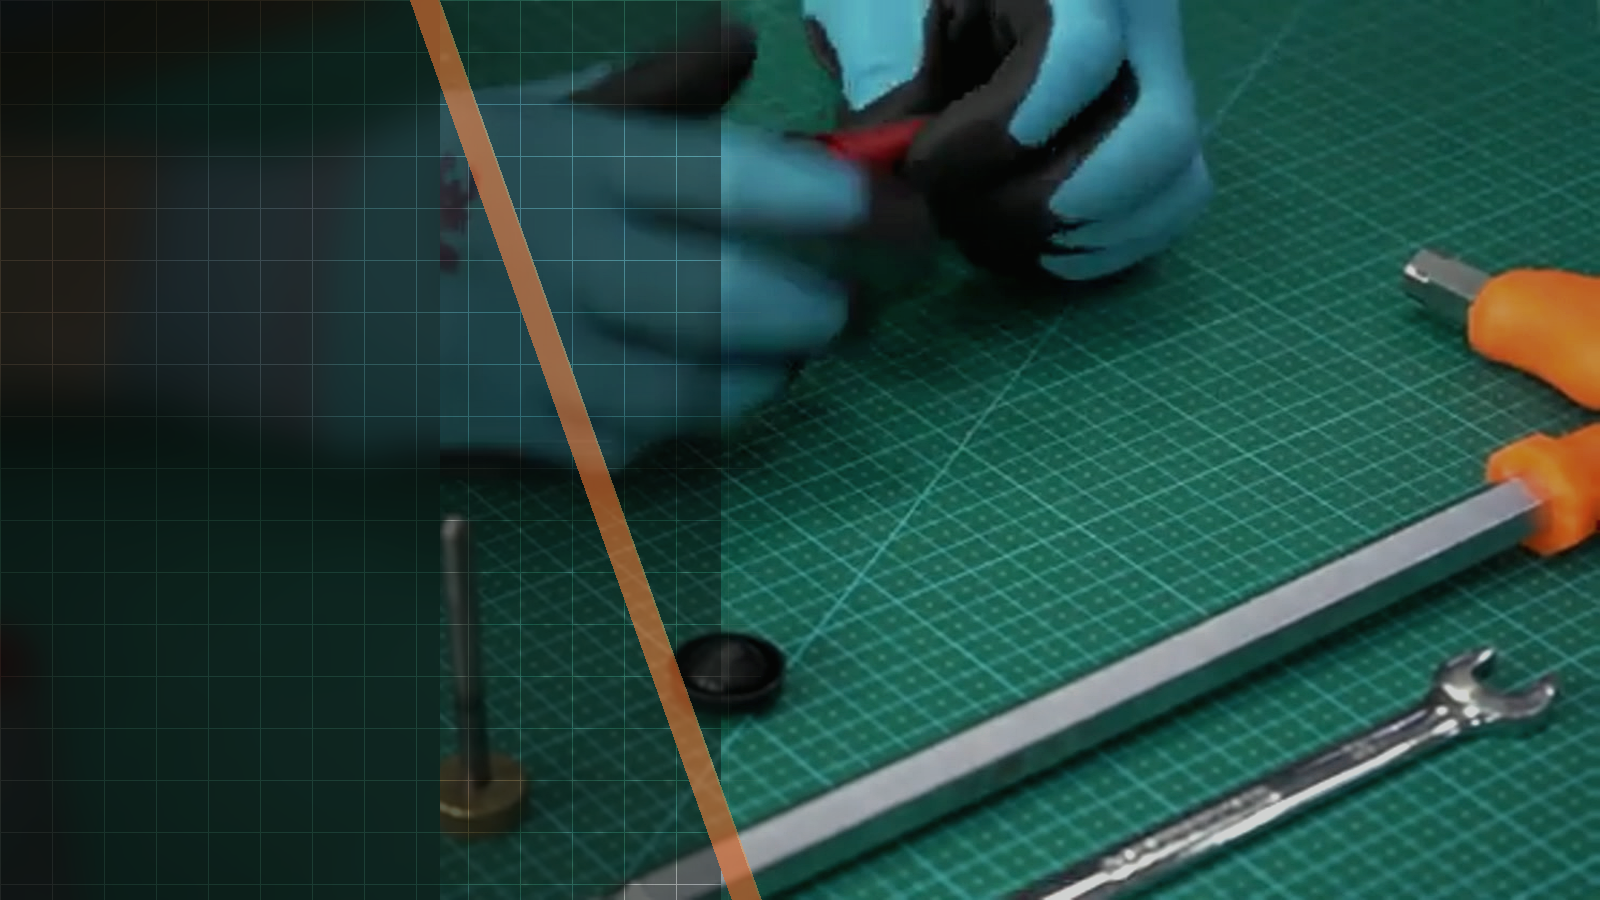
Official Silverback video workshop
Silverback TAC-41 Short Front Rail Installation Guide
This official Silverback video demonstrates how the short front rail is fitted to the TAC-41 polymer stock, from preparing its nylon lugs to checking alignment with the receiver rail. Use this guide when you want to follow the filmed installation sequence and verify the source-defined rail layout, weight, and vertical-alignment details before moving on.

01Source-based overview
What this procedure does
The video follows a compact installation sequence. The screws and M-LOK T-nuts are shown installed on two nylon lugs, while the rubber pad is slid into place in the demonstrated orientation. The short rail is then placed against the TAC-41 polymer stock with both lugs engaged, and the screws are tightened evenly without excessive torque.
At the final checkpoint, a ruler is used to check the rail against the receiver rail. The grub screw can press the rubber pad to correct vertical alignment and cancel the free-float effect. Silverback describes the part as CNC aviation grade aluminium, weighing 48 grams with hardware excluded, with 95 mm of Picatinny rail and two 45-degree MLOK slots. The description lists compatibility with the SBA-STK-31BK, SBA-STK-31FDE, SBA-STK-31OD, and SBA-STK-31WG polymer stocks.
Tools and parts explicitly identified
- ruler
Evidence standard
Every technical statement below is restricted to the official Silverback description, subtitles, on-screen text or visible action. Unstated torque values and compatibility claims are intentionally omitted.
What the footage makes clear
This walkthrough stays close to the official Silverback source. The expanded notes explain what is visible at each checkpoint, while measurements, compatibility and cautions remain limited to what Silverback actually states.
- The five checkpoints follow the visual review observations at the fixed timestamps.
- The rail dimensions, construction, weight, compatibility, and alignment description come from Silverback's official video description.
- No official or automatic English or French subtitle track was available.
| Specification | Source value |
|---|---|
| Compatible polymer stock | TAC-41 |
| Compatible stock references | SBA-STK-31BK, SBA-STK-31FDE, SBA-STK-31OD, SBA-STK-31WG |
| Construction | CNC aviation grade aluminium |
| Weight | 48 grams (hardware excluded) |
| Picatinny rail length | 95 mm |
| MLOK slots | 2 Mlok slots at 45° angle (1 on each side) |
02Primary source
Watch the official Silverback tutorial
Every technical statement below is restricted to the official Silverback description, subtitles, on-screen text or visible action. Unstated torque values and compatibility claims are intentionally omitted.
03Procedure
Silverback TAC-41 Short Front Rail Installation Guide, step by step


- If you are using a bipod, Silverback suggests mounting it on the tripod mount.
- Both nylon lugs are engaged with the lateral MLOK slots.
- The screws are tightened evenly without excessive torque.
- The ruler checks alignment with the receiver rail.
- The grub screw can press the rubber pad to correct vertical alignment and cancel the free-float effect.
04FAQ
TAC-41 tutorial questions
What does the Silverback short front rail fit?
The description states that this rail section fits the TAC-41 polymer stock and lists SBA-STK-31BK, SBA-STK-31FDE, SBA-STK-31OD, and SBA-STK-31WG.
How is the rail mounted to the stock?
It is mounted on the lateral MLOK slots with two nylon lugs.
What alignment feature does the rail use?
A rubber pad pushed by a grub screw helps adjust vertical alignment and cancel the free-float effect.
Share:
Silverback TAC-41 Long Front Rail Installation Guide
Silverback TAC-41 Long Magazine Stripdown and Use Guide