
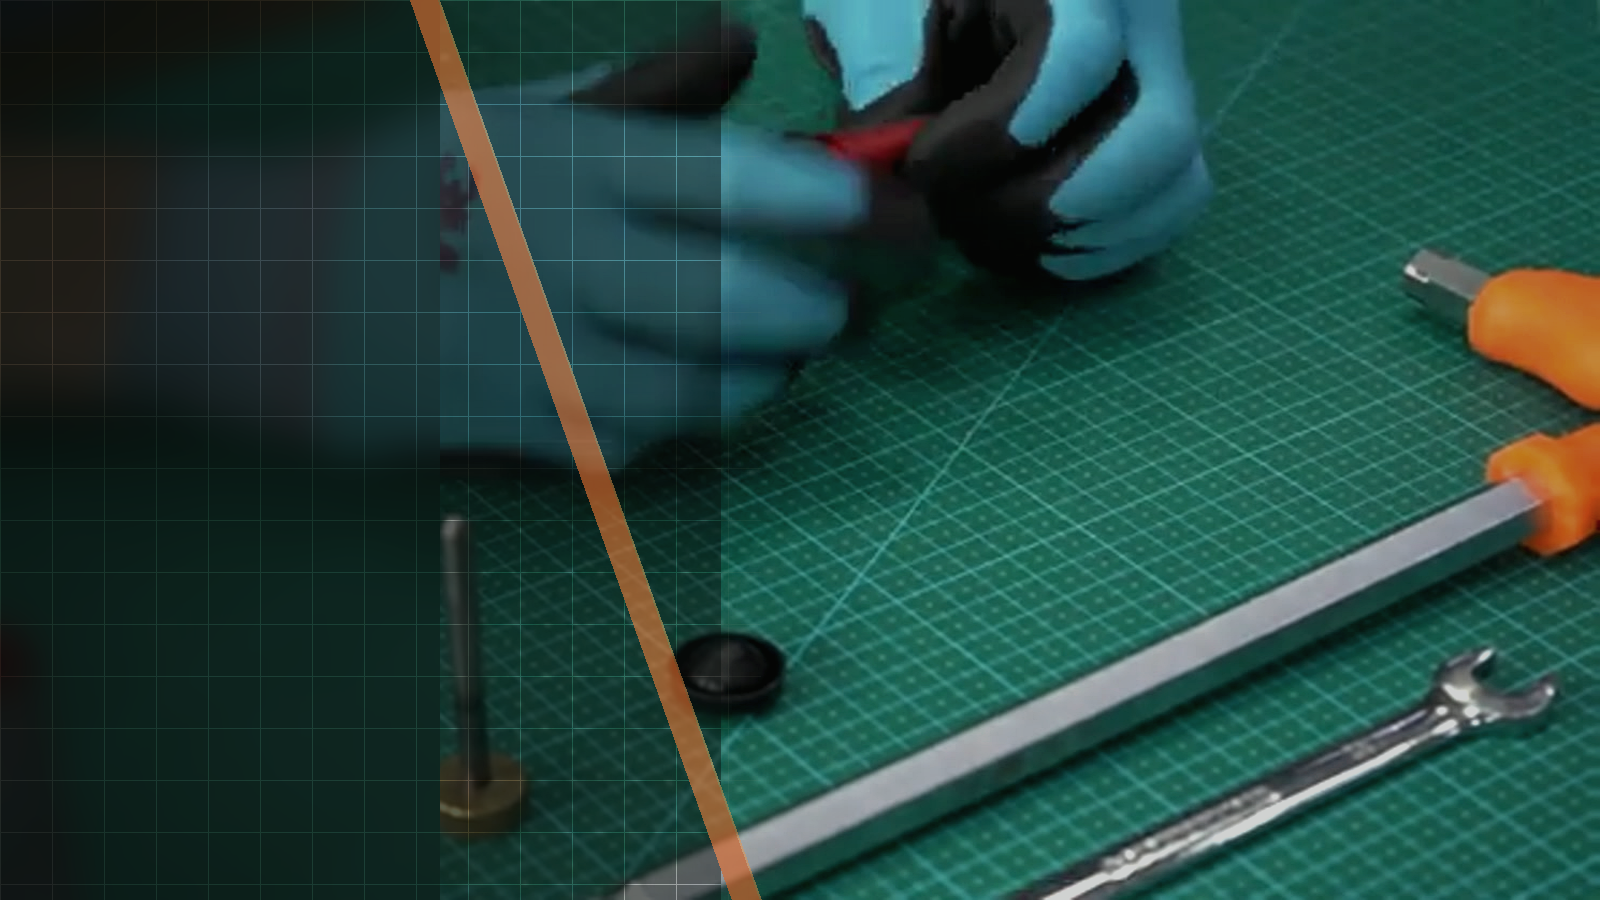
Official Silverback video workshop
Silverback TAC-41 Trigger Adjustment Guide
This official Silverback video demonstrates how the TAC-41 trigger’s preload and travel adjustments change the trigger setup. Use this guide when following the video’s adjustment sequence and comparing the empty feeding ramp, disengaged magazine, adjustment tool, and trigger feel at each checkpoint.

01Source-based overview
What this procedure does
The sequence begins with the 2.5 mm Allen tool stored inside the stock, or an equivalent 2.5 mm hex key, while the feeding ramp is empty and the magazine is disengaged. The first adjustment concerns trigger preload. The footage instructs the user to remove at least one full turn, corresponding to 0.5 mm of piston-sear engagement, and notes that a heavier trigger pull is safer.
The video then moves to trigger travel. Loosening this adjustment changes the original single-stage configuration toward a two-stage feel. Silverback’s official warning is central to the whole procedure: using the trigger adjustments at maximum can create safety problems and slam-fire problems, so the stated instructions must be respected.
Tools and parts explicitly identified
- 2.5 mm Allen tool stored inside the stock
- equivalent 2.5 mm hex key
- trigger
- feeding ramp
- magazine
- stock
Evidence standard
Every technical statement below is restricted to the official Silverback description, subtitles, on-screen text or visible action. Unstated torque values and compatibility claims are intentionally omitted.
What the footage makes clear
This walkthrough stays close to the official Silverback source. The expanded notes explain what is visible at each checkpoint, while measurements, compatibility and cautions remain limited to what Silverback actually states.
- The fixed timestamps and visual sequence are attributed to the official Silverback video footage.
- The tool, empty feeding ramp, disengaged magazine, preload instruction, piston-sear engagement, trigger feel, and safety warning are attributed to the supplied visual review observations and official video description.
- No official or automatic English or French subtitle track was available, so no on-screen text is asserted.
| Specification | Source value |
|---|---|
| Platform | tac-41 |
| Adjustment range described | trigger preload & trigger travel |
| Minimum preload change instructed | at least one full turn |
| Corresponding piston-sear engagement | 0.5 mm |
| Original trigger configuration | single-stage |
| Adjustment effect described | toward a two-stage feel |
02Primary source
Watch the official Silverback tutorial
Every technical statement below is restricted to the official Silverback description, subtitles, on-screen text or visible action. Unstated torque values and compatibility claims are intentionally omitted.
03Procedure
Silverback TAC-41 Trigger Adjustment Guide, step by step


- Using the trigger adjustments at maximum will generate safety problems and slamfire problems.
- The feeding ramp must be empty and the magazine disengaged before adjustment.
- The feeding ramp is empty and the magazine is disengaged before adjustment.
- At least one full turn is removed for the preload adjustment, corresponding to 0.5 mm of piston-sear engagement.
- The trigger-travel adjustment changes the original single-stage configuration toward a two-stage feel.
04FAQ
TAC-41 tutorial questions
Which Silverback platform does this trigger-adjustment video cover?
The official video covers the TAC-41 platform.
What trigger adjustments are demonstrated?
The video demonstrates trigger-preload adjustment and trigger-travel adjustment.
What does loosening the trigger-travel adjustment do?
It changes the original single-stage configuration toward a two-stage feel.
Share:
Silverback TAC-41 Hopup Rubber Swap Guide
Silverback TAC-41 P Complete Assembly Guide